Ultra-Seal

Limestone Floor Restoration Burley in Wharfedale

Limestone Tiled Kitchen Floor Repair and Restoration in Burley in Wharfedale

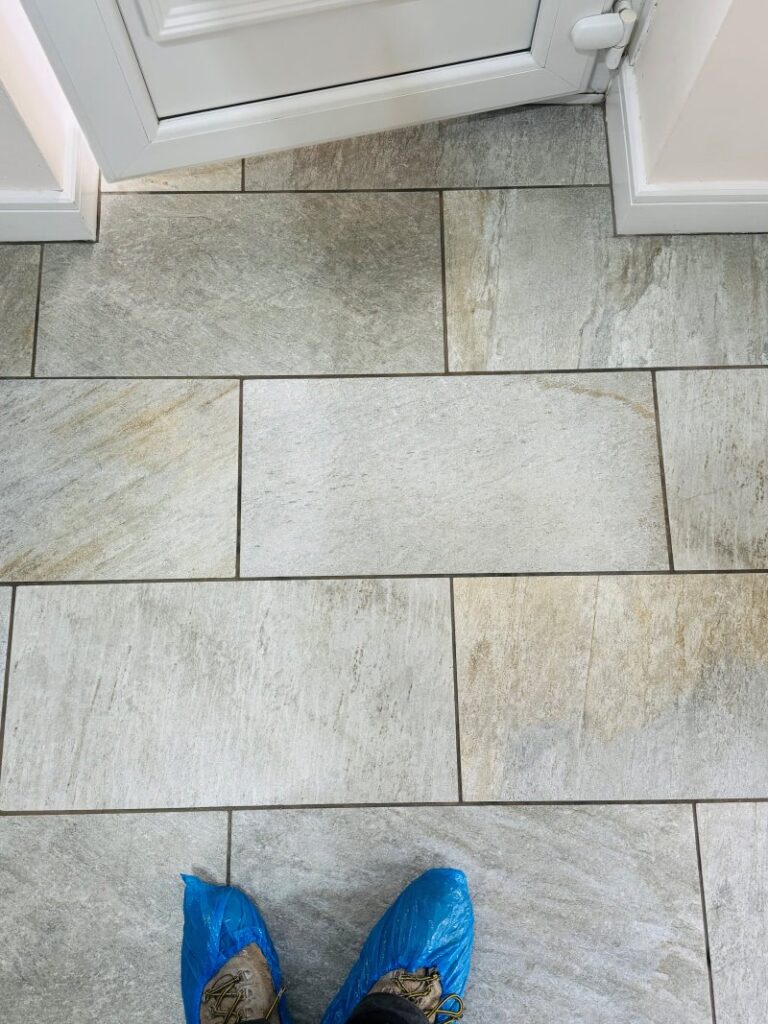
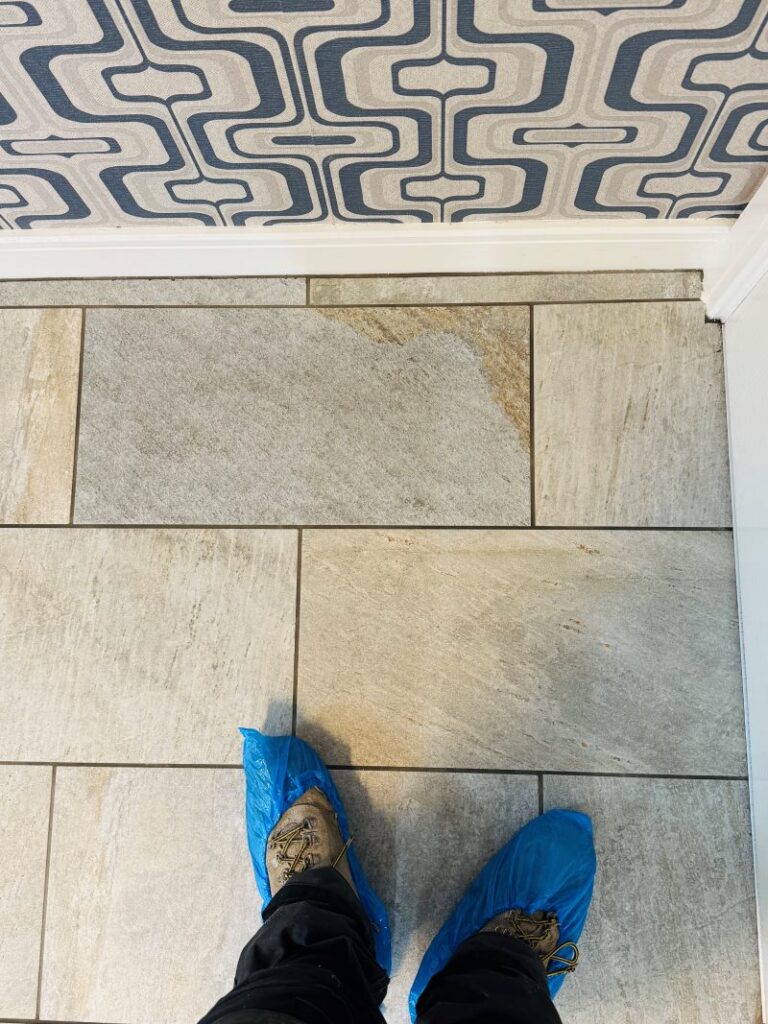
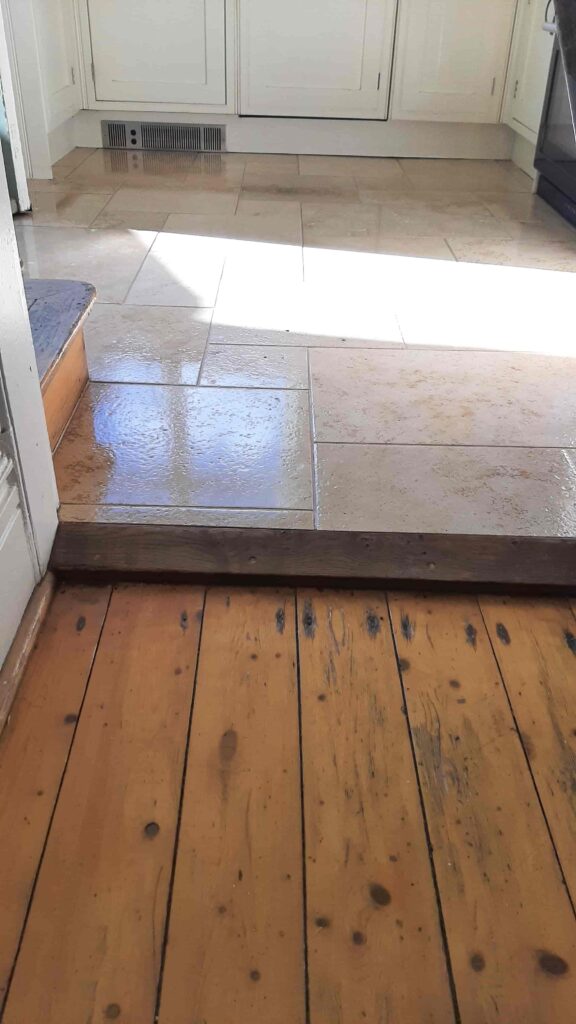
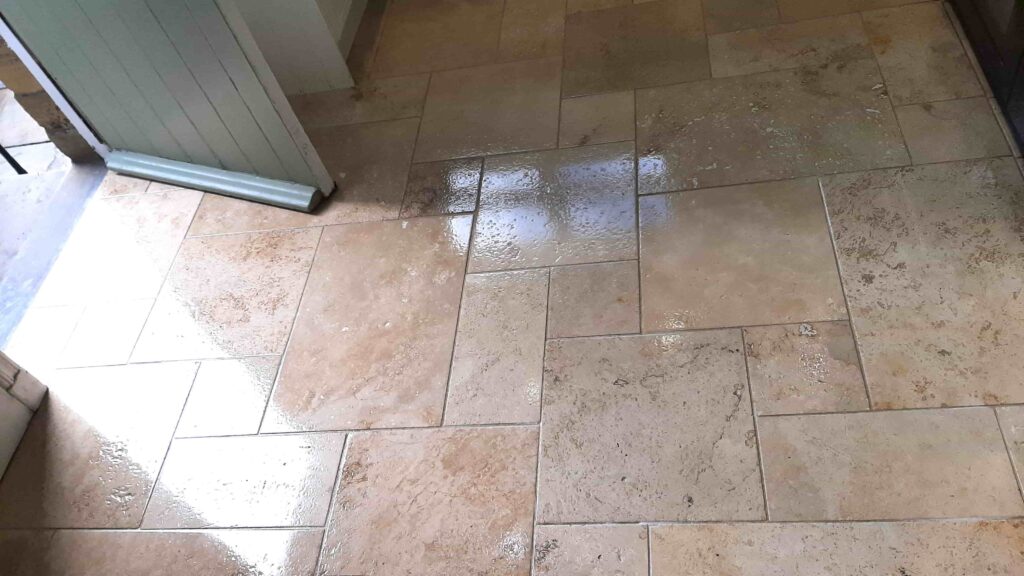
The photos below are of a Limestone tiled kitchen floor with an inset of coloured stone at a 200-year-old cottage in Burley in Wharfedale near Ilkley. The stone floor was overdue a deep clean and seal and some of the inset flagstones were damaged and uneven. Looking for a solution, the owner had tried other companies before us so by the time I got to look at the floor some repairs had already been attempted although not that successful.

Limestone Floor Before Restoration Burley in Wharfedale Limestone Floor Before Restoration Burley in Wharfedale

I popped over to survey the floor and recommended re-seating and repairing the cracked and uneven flagstones and then burnishing the floor with diamond burnishing pads to deep clean the stone and restore its appearance, then finally applying a fresh sealer to protect it going forward.

Happy with the quote I was asked to go ahead with the work and a date was scheduled.

Cleaning/Repairing a Limestone Tiled Kitchen

The first job was to repair the stone by carefully pulling out the uneven and damaged sections and then cleaning up the foundation. The existing stone was then cleaned up and fixed back in place, the cracks were then filled with epoxy mastic, colour matched to blend in with the original stone. It’s a lengthy process that requires a lot of attention to detail, but the alternative would have been to source matching replacement flagstones which given the age of the floor would have been tricky.

Limestone Floor During Repair Burley in Wharfedale Limestone Floor During Repair Burley in Wharfedale

Once the repairs had set, work started on the burnishing by applying the first of a set of four diamond encrusted burnishing pads. The first pad is a coarse 400-grit which was worked into the floor using a medium dilution of Tile Doctor Pro-Clean for extra cleaning power and lubrication. This combination increases the effectiveness of the pad and together removed ingrained dirt and remaining old sealer. The pad is applied using a rotary machine which had extra weight added to further increase traction with the stone.

Next up the grout was treated to a good scrub with more Pro-Clean which was worked into the grout by hand to ensure the best result. The tiles were a reasonably large format so it didn’t take too long to go round the whole floor cleaning the grout with this method.

The floor was then rinsed with water and the slurry extracted with a wet vacuum before repeating the process with finer 800 and 1500-grit pads that build up a nice subtle polish on the limestone and are applied using only with water. After rinsing the floor and extracting the soiling the last pad which is a super fine 3500-grit was applied dried to the tiles using only a little water sprayed onto the tile. This the final step in the cleaning and polishing process and added a lovely subtle sheen to the floor. These pads bring up the appearance of the stone as well as helping the repairs to blend in.

Sealing a Limestone Tiled Kitchen

Once the floor was dry as confirmed by a moisture meter the stone was sealed with a single coat of Tile Doctor Ultra-Seal. This is a premium almost invisible impregnating sealer which soaks into the stone, occupying the pores and thereby preventing dirt from becoming ingrained there. This ensures dirt remains on the surface where it can be easily cleaned away.

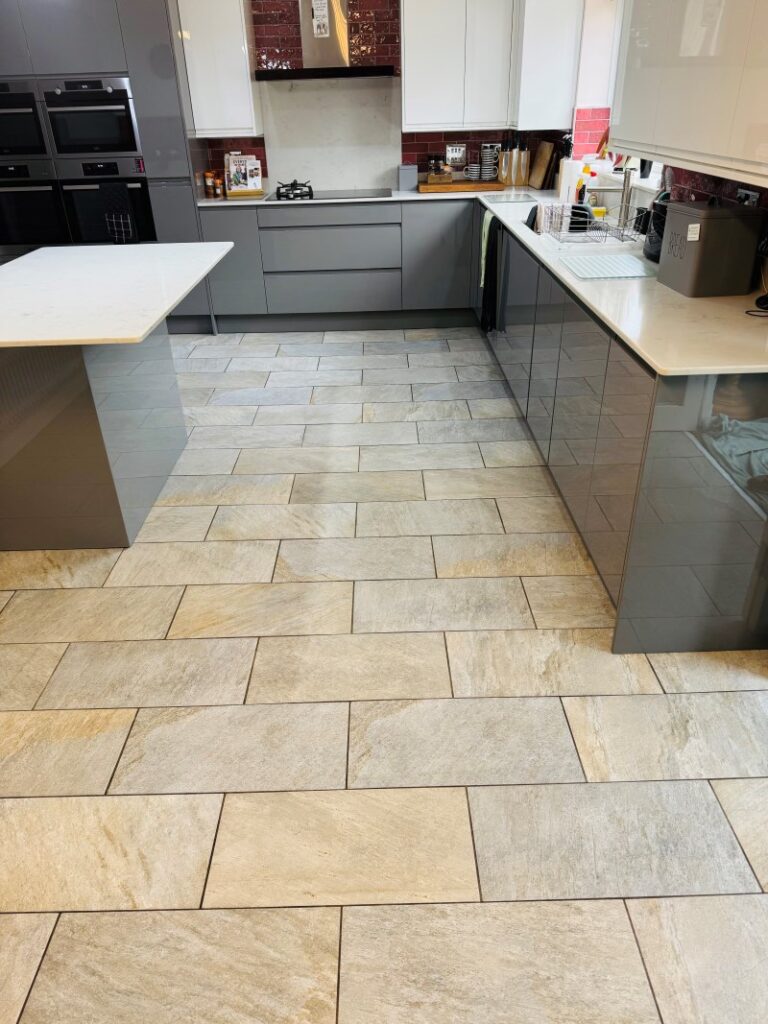
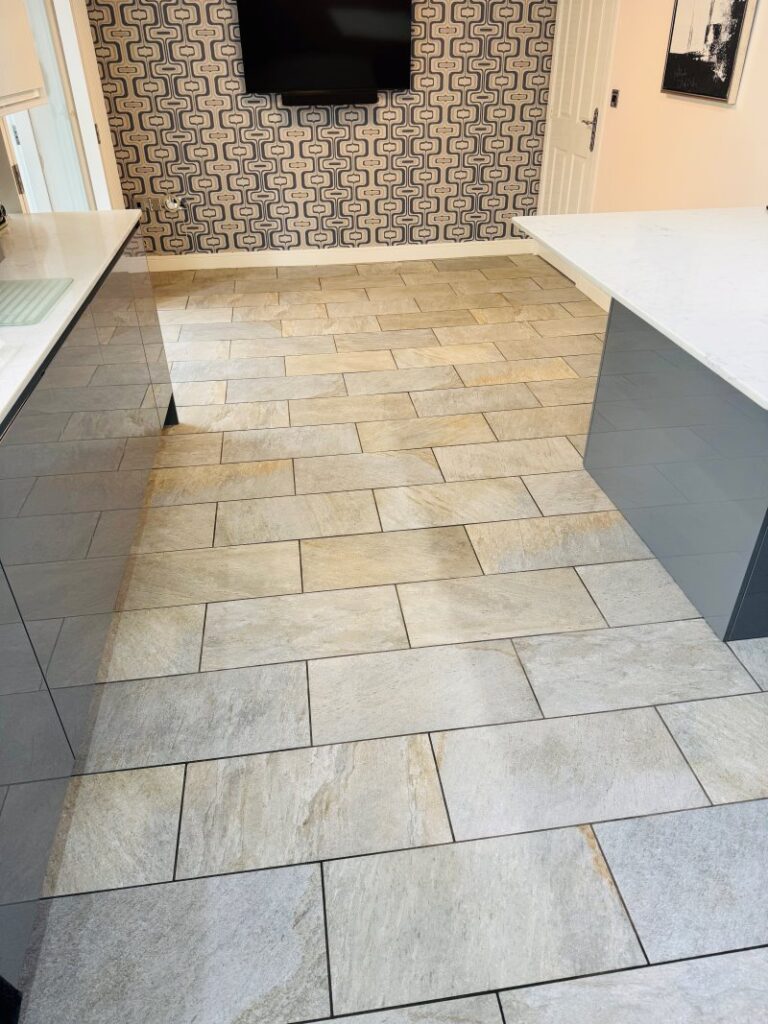
Limestone Floor After Repair Restoration Burley in Wharfedale

The result was a fully restored clean limestone floor with a subtle shine. My client was very pleased with the improvement and left the following testimonial:

“Very professional and pleasant. Willing to do what was needed to ensure the best job possible “

For the aftercare of polished and sealed stone floors I recommend Tile Doctor Stone Soap which is sealer friendly and contains a patina enhancer that will help the floor keep its polished appearance.


Professional Restoration of a Limestone Tiled Kitchen in Northwest Yorkshire

Limestone Tiled Kitchen Floor Repair and Restoration in Burley in Wharfedale Read More »
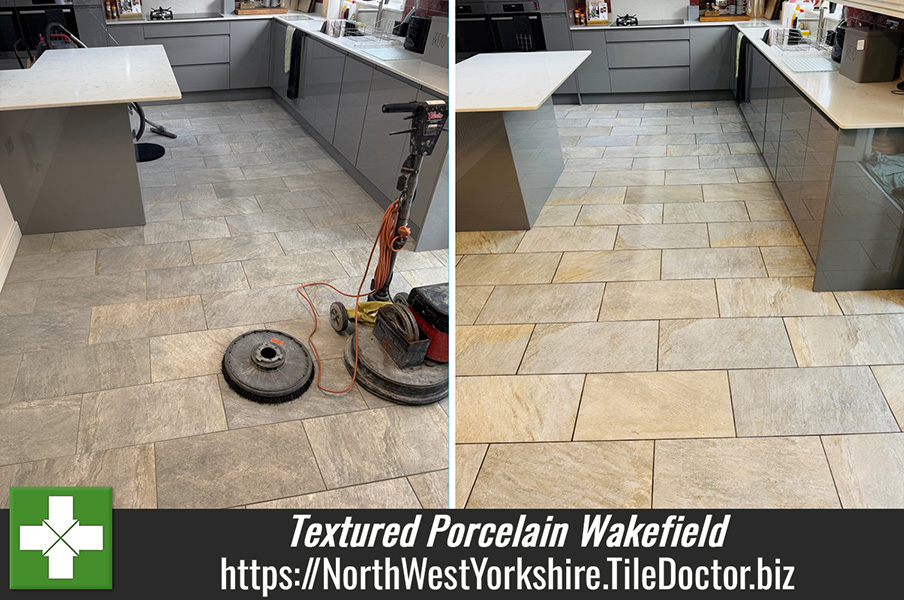
Textured Microporous Porcelain Tiled Floor Renovation Wakefield

Textured Porcelain Tiled Kitchen Floor Renovated in Wakefield

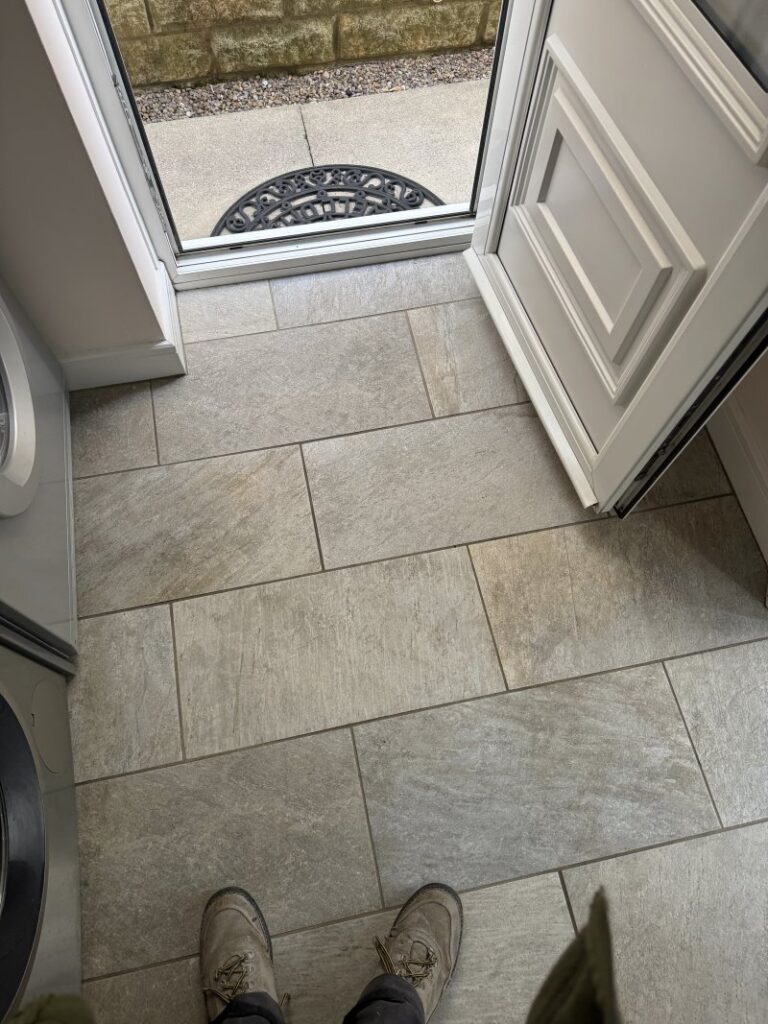
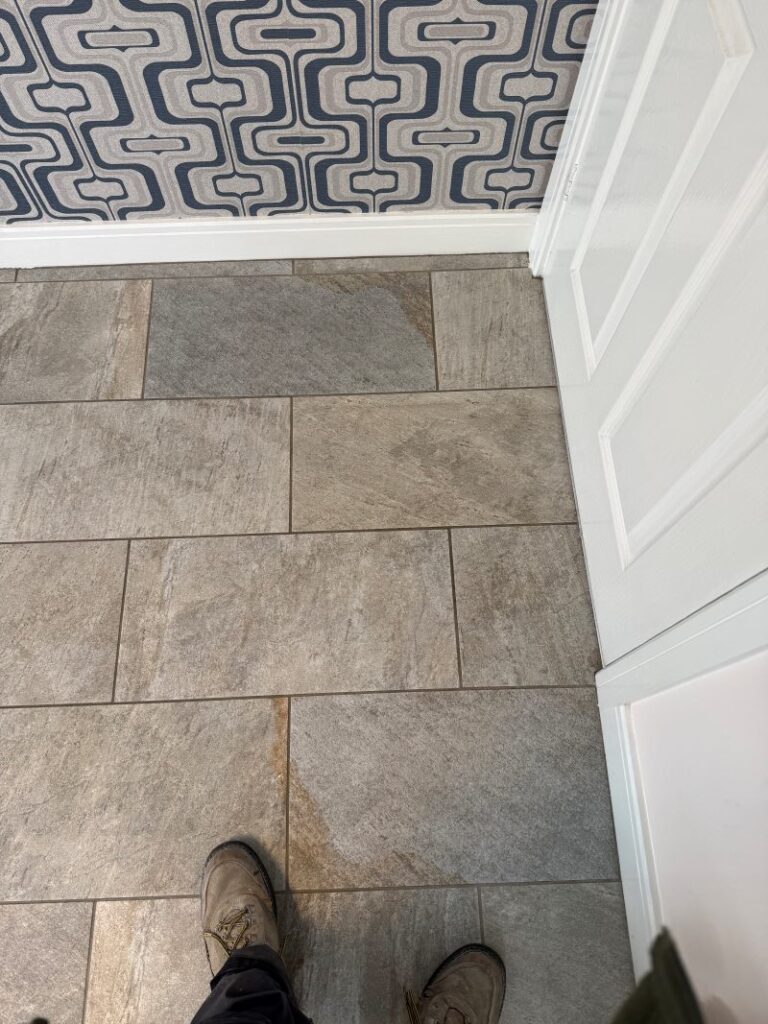
I was called out to a home in Wakefield where the owner wasn’t happy with the state of their Porcelain tiled kitchen floor. It had been down about five years, and while porcelain’s a tough, non-slip tile that’s spot on for kitchens, the textured surface had started to trap muck. The grout lines were just the same – once they get dirty, they don’t half take some shifting.

Porcelain Tiled Floor Before Renovation Wakefield Porcelain Tiled Floor Before Renovation Wakefield

The customer had been grafting away with regular cleaning but couldn’t get rid of the ingrained dirt. Having a couple of dogs running about didn’t help matters either. They were after a proper deep clean and a seal to make life easier.

Porcelain Tiled Floor Before Renovation Wakefield Porcelain Tiled Floor Before Renovation Wakefield

After conducting a test clean first, it showed the porcelain was of the microporous type which meant that a sealer would definitely help to keep it clean. The customer liked what they saw, so we cracked on and booked in a date to renovate the whole floor.

Cleaning a Porcelain Tiled Kitchen

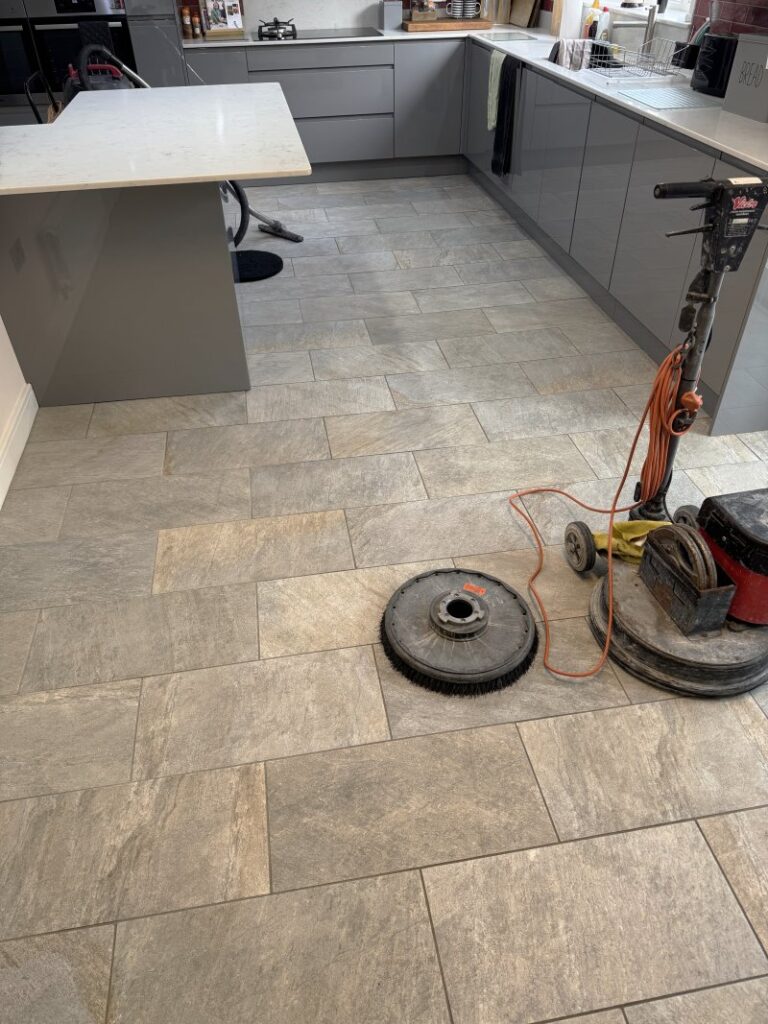
First job was to get the muck shifted; to do this the Porcelain tile and grout was covered in a strong dilution of Tile Doctor Pro-Clean. It was then left it to dwell and soak in for ten minutes so it could get to work on the floor digesting the dirt. Then we got stuck in with a rotary machine fitted with a black scrubbing pad to work the solution deep into the floor.

Now, machines are grand for open areas, but they don’t half struggle to get into grout lines, so the only thing to do was to get down on my knees and give it a good scrub with stiff brush. You could see the improvement during the scrubbing turning the cleaning solution black as the dirt was lifted out.

After scrubbing the floor was rinsed with clean water and then a wet vacuum used to remove the soiling. Stubborn areas were gone over again by hand until they shifted. After another rinse and a thorough vacuum dry, the floor was ready for sealing.

Sealing a Porcelain Tiled Kitchen

Once dry, the Porcelain tile and grout was sealed using Tile Doctor Ultra-Seal. This sealer doesn’t contain a colour enhancer so is invisible to the naked eye. Its also an impregnator that soaks into the pores adding protection from within and ensuring dirt remains on the surface making it much easier to clean going forward.

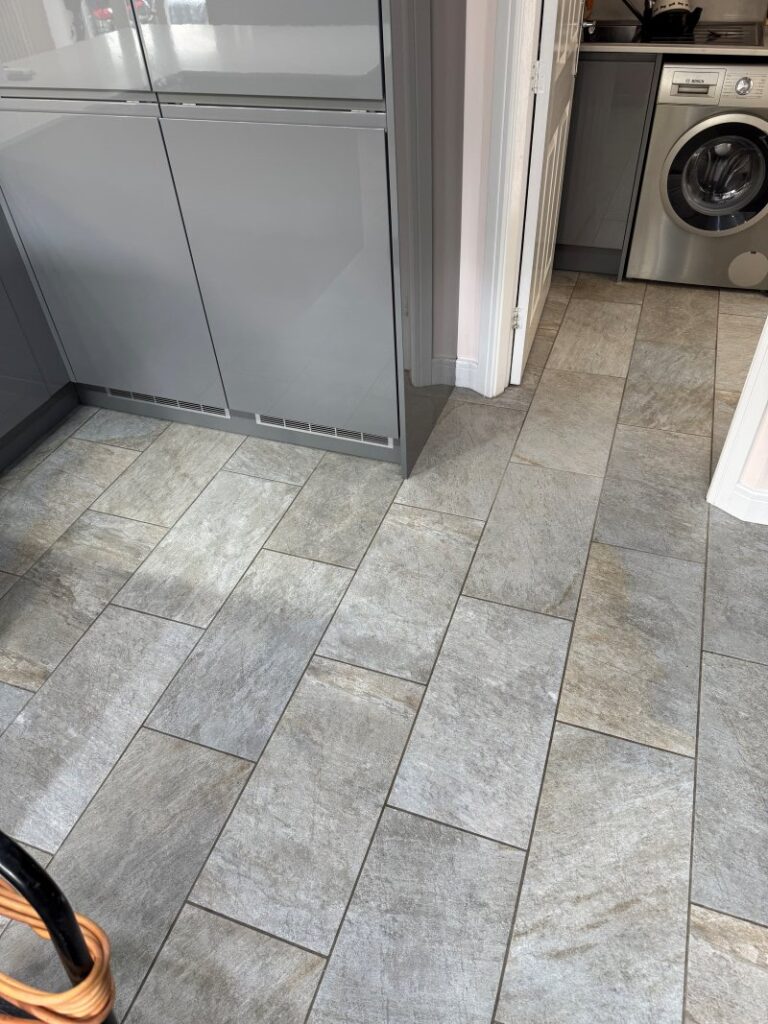
Porcelain Tiled Floor After Renovation Wakefield Porcelain Tiled Floor After Renovation Wakefield

After the work was wrapped up, I’m pleased to say the customer was chuffed with the result and left the following feedback on-line:

“Chris and Zak came on time, prepped the area which was a large kitchen and utility with porcelain tiles. They quickly got on with the job in a professional manner. They worked hard to ensure that they could get the floor cleaned and sealed within a day. The results are brilliant. Wouldn’t hesitate to recommend “

Porcelain Tiled Floor After Renovation Wakefield Porcelain Tiled Floor After Renovation Wakefield

To keep the floor looking grand, we recommended using Tile Doctor Neutral Tile Cleaner. It’s gentle but does the job, and unlike supermarket cleaners, it won’t erode the sealer or leave a residue behind. Used regularly, it’ll make sure the floor stays clean with no messing.


Professional Restoration of a Porcelain Tiled Kitchen in Yorkshire

Textured Porcelain Tiled Kitchen Floor Renovated in Wakefield Read More »

Soot-Stained Limestone Fireplace Renovation Guiseley Yeadon

Soot-Stained Limestone Fireplace Renovated in Guiseley

Detailed below is the cleaning of a Limestone Fireplace surround and hearth at a property in Guiseley near Yeadon on the outskirts of Leeds. Soot

The fireplace had been installed approximately five years prior and was now badly stained with soot and smoke from the wood burner and this readily stood out against the pale Limestone. Having decided to do something about it the owner tried cleaning it but was unhappy with the result and decided to call in some professional help.

Soot-Stained Limestone Fireplace Before Cleaning Guiseley Yeadon

Happy to oblige I was able to provide a quote based on photographs which was accepted and a date scheduled for the renovation which would only take a few hours.

Cleaning a Limestone Tiled Fireplace

Work started by adding protection to the surrounding carpets and the metal work of the log burner. Then to get the Limestone clean I decanted a strong dilution of Tile Doctor Pro-Clean into a spray bottle and sprayed it on to the stone. The spray mixes the solution with air making it lighter and more able to stick to the vertical surface. You can also use Tile Doctor Oxy-Gel for this which is a similar gel-based product. After leaving it to soak in for ten minutes the solution was worked in, using handheld diamond blocks of increasing grits.

Soot-Stained Limestone Fireplace During Cleaning Guiseley Leeds

Sealing a Limestone Tiled Fireplace

Once dry, the fire surround and hearth were sealed with Tile Doctor Ultra-Seal sealer to help protect from more soot. This is an invisible sealer that works by soaking into the pores of the Limestone protecting it from within. This keeps dirt and contaminants on the surface where they can be easily cleaned away with a product such as Tile Doctor Stone Soap. It’s important to use a pH neutral product for the regular maintenance cleaning
of sealed stone as stronger products will erode the sealer prematurely.

Soot-Stained Limestone Fireplace After Cleaning Guiseley Leeds

Once complete the Fireplace looked like new again much to the delight of the homeowner who left the following 5 Star feedback for me:

“Limestone Fireplace in the lounge is very badly stained with soot and smoke. Got in touch with Chris Allen and he did a splendid job bringing it back to its original state. Excellent craftsmanship and kept us informed of what was going on and how to care for the Fireplace in future. Very knowledgeable and lovely gent to have done the work.”


Professional Renovation of a Limestone Fireplace in Northwest Yorkshire

Soot-Stained Limestone Fireplace Renovated in Guiseley Read More »

Scratched Travertine Table Polishing Morley Leeds

Polishing Scratches out of a Travertine Tabletop in Morley near Leeds

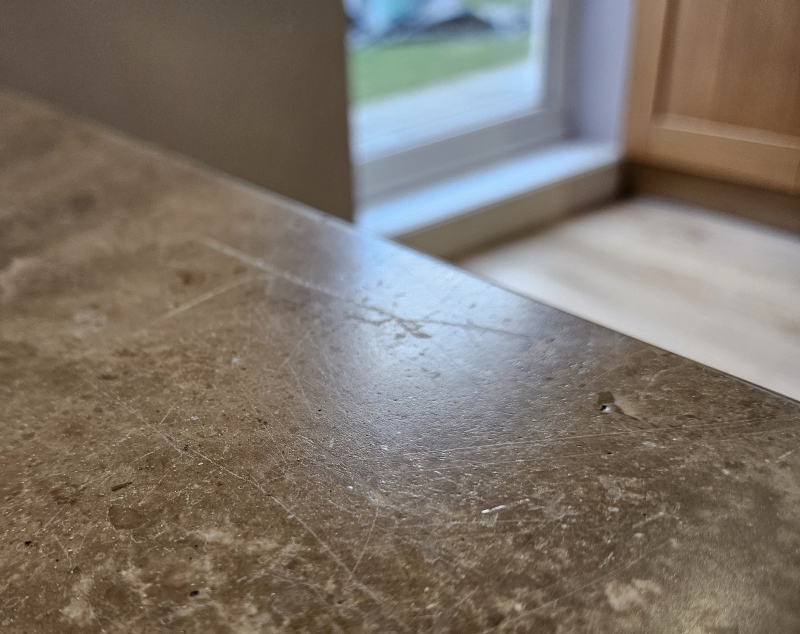
The photographs below are of a scratched Travertine table at a property in the Morley area of Leeds that I was asked to look at. The tabletop had been cleaned but not with the correct neutral cleaners and had some wear and scratches. The result was over time the tabletop lost its shine, and its owner now wondered if it could be cleaned and polished to restore its appearance.

Scratched Travertine Table Before Polishing Morley Leeds

I was confident that the burnishing pads that we use to polish Travertine floors would work equally well on a stone table and fortunately Tile Doctor provides six-inch version of the pads for this situation.

Cleaning a Travertine Table

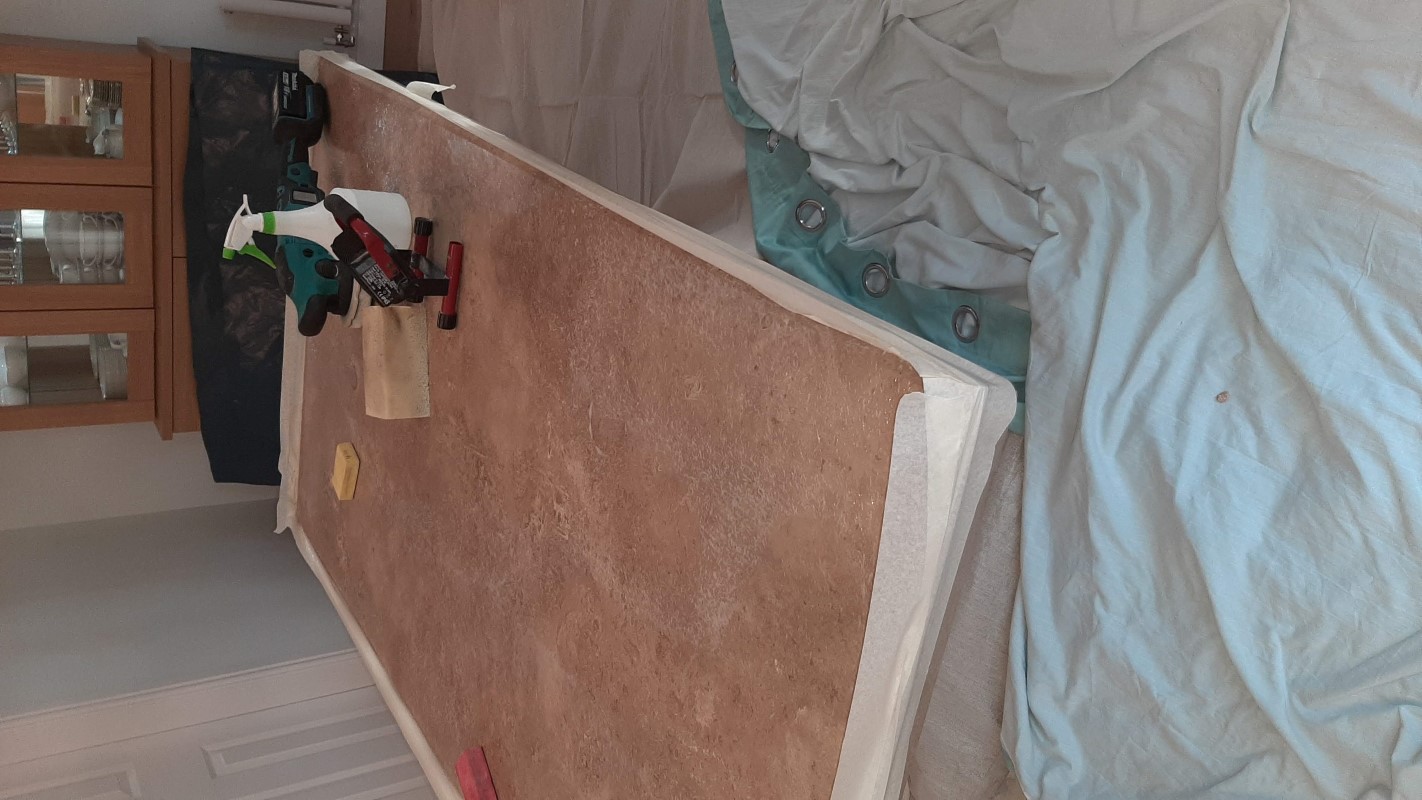
Before starting I laid down a protective sheet on the floor and created a boundary around the tabletop with protective tape. Water is used in the burnishing process, and I wanted to prevent this from escaping onto the walls and floor.

I tackled the scratches first by applying a coarse 400-grit burnishing pad attached to a hand-held buffer. Water is used to help lubricate the process and once the pad had been applied to the whole table the soiling generated was sponged off the surface. I then inspected the scratches and where needed polished them out further using coarser hand-held burnishing blocks.

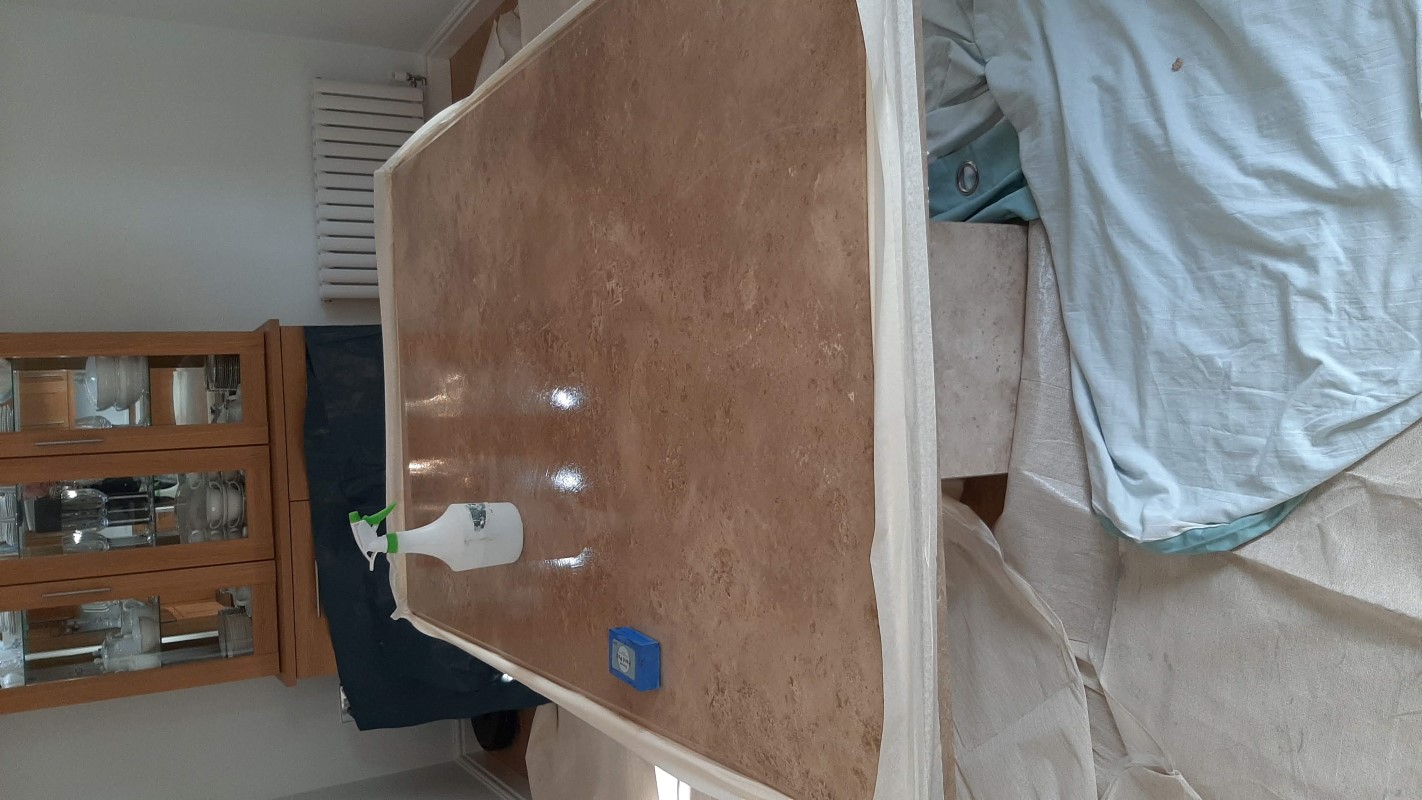
Scratched Travertine Table During Polishing Morley Leeds Scratched Travertine Table During Polishing Morley Leeds

Next, I started the process of rebuilding the polish on the table by applying the finer six-inch burnishing pads in sequence starting with 800 then 1500-grit. Each pad was applied with water and then the soiling sponged off afterwards as before. To finish the polishing a very fine 3000-grit pad was applied using a little water to achieve a spray burnish.

Sealing a Travertine Table

This last pad leaves the Travertine dry so it wasn’t long before I could move onto the last step and applying a protective sealer to the table. Having walked through the different sealers and finishes with the client earlier we had chosen Tile Doctor Ultra-Seal to seal the table which is an impregnator that doesn’t alter the appearance of the stone and leaves a very natural finish.

Impregnating sealers work by soaking into the pores of the table preventing dirt from residing there and thereby protecting it from within. This ensures dirt remains on the surface where it can be easily cleaned away.

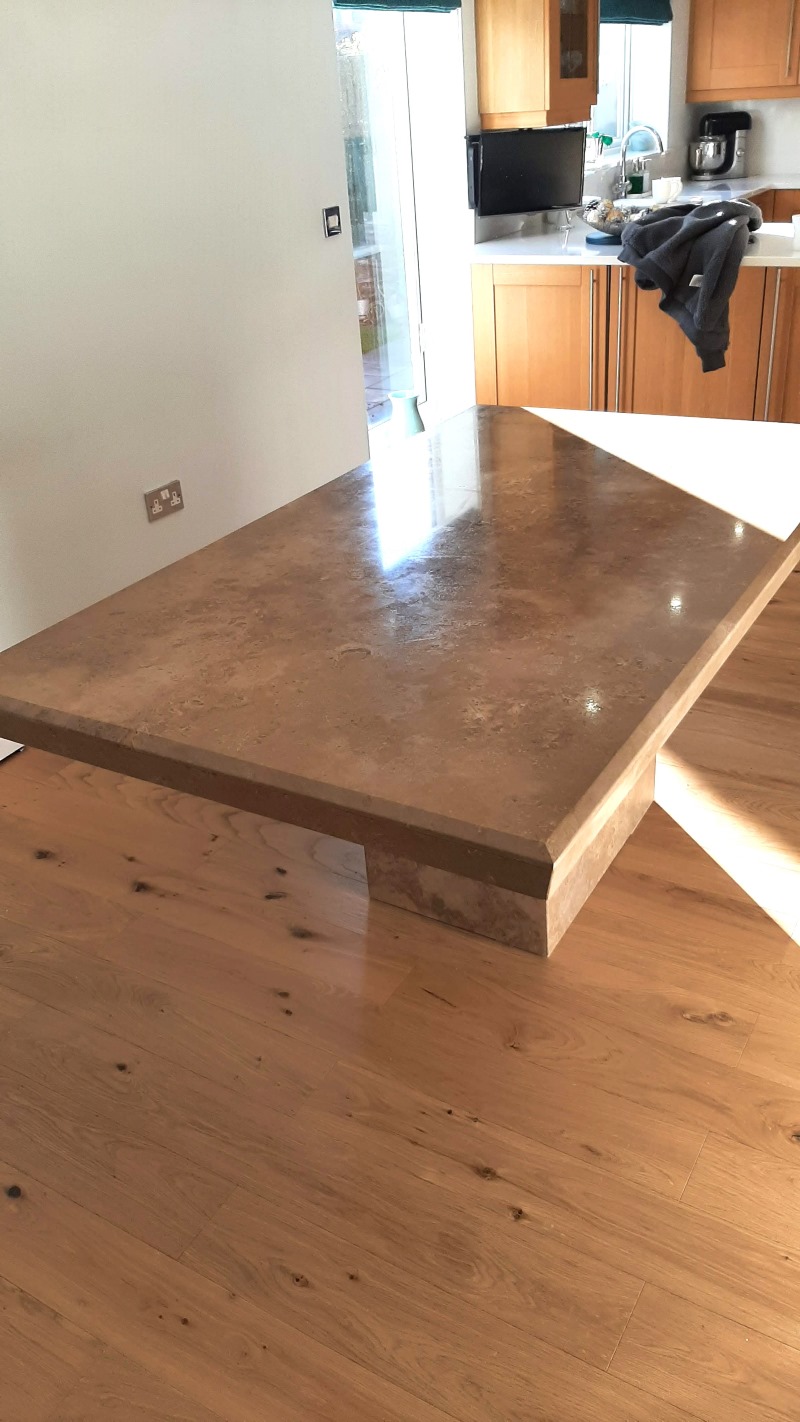
Scratched Travertine Table After Polishing Morley Leeds

Once the sealer had dried the work was complete and the beautiful, polished appearance of the Travertine table had been restored. My client was very pleased with the result and left the following feedback:

Chris was very polite, attended punctually and was a clean worker, taking precautions to prevent dust and keep the surrounding area clean. The table looks like new. Thank you, Chris.

For the aftercare of sealed and polished stone table and countertops we recommend the use of Tile Doctor Stone Patina Spray. This is a specially designed spray and buff cleaner that helps maintains the patina on the stone without impacting the sealer.


Professional Restoration of a Travertine Table in North West Yorkshire

Polishing Scratches out of a Travertine Tabletop in Morley near Leeds Read More »

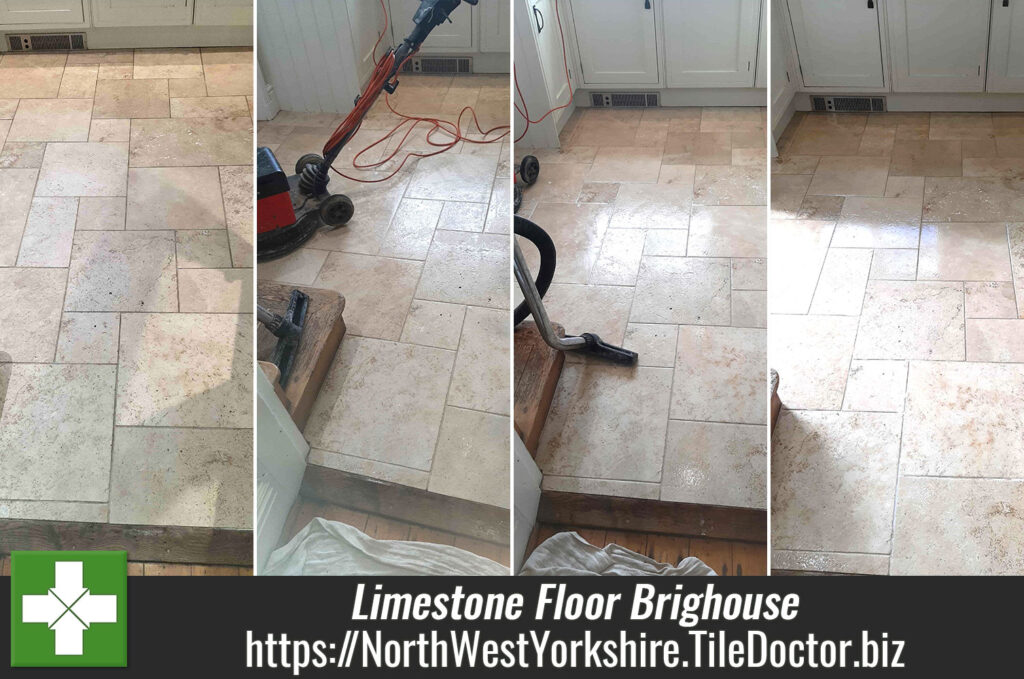
Limestone Kitchen Floor Cleaned and Sealed Brighouse

Limestone kitchen floor in Brighouse

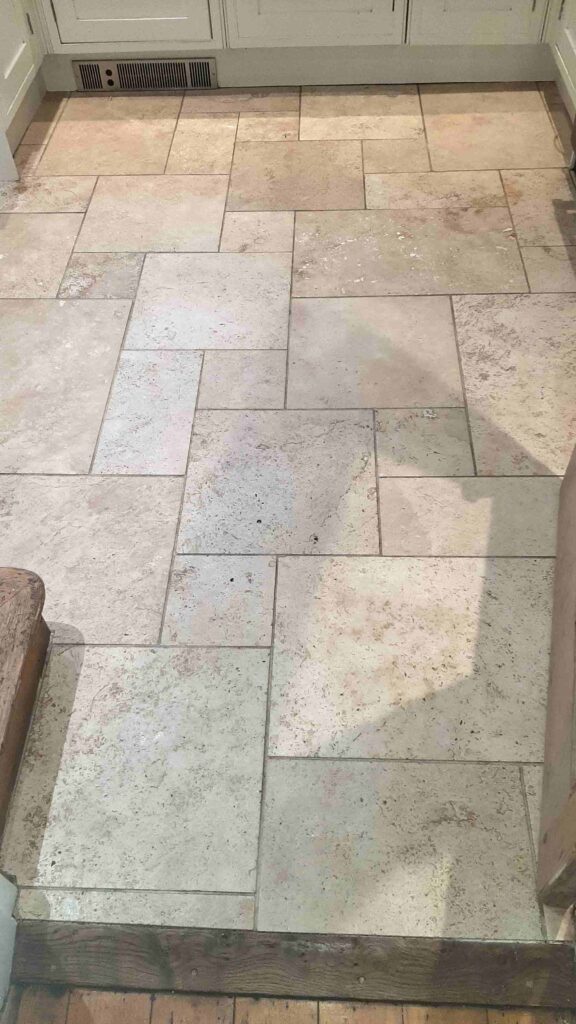
This limestone floor in the kitchen at a property in Brighouse was laid over five years ago and since then the sealer had worn off allowing dirt to become ingrained in the stone and grout lines. It now needed to be deep cleaned with attention to the grout lines and then sealed to protect it going forward.

Limestone Kitchen Floor Before Cleaning Brighouse

I visited the property to survey the floor and work out a restoration plan that would renovate the stone back to its original condition. The work required was straight forward so it didn’t take long to work out a quotation for the renovation.

Happy with the quote we agreed a date for my return.

Cleaning a Limestone Tiled Kitchen

To deep clean and renovate the Limestone I used a set of 17-inch diamond burnishing pads which included 400, 800, 1500 and 3000 grits. Before I could get to work though the wooden kitchen units had to be protected from the cleaning solutions by applying a thin line of clean silicone sealant between the floor and the base boards. Doing this ensures water doesn’t soak into the wood where it can cause them to warp.

The Kitchen was quite small and the equipment proved to be a challenge to operate in such a confined space. I was using a weighted rotary floor buffer and triple motor wet vacuum, so extra care was needed.

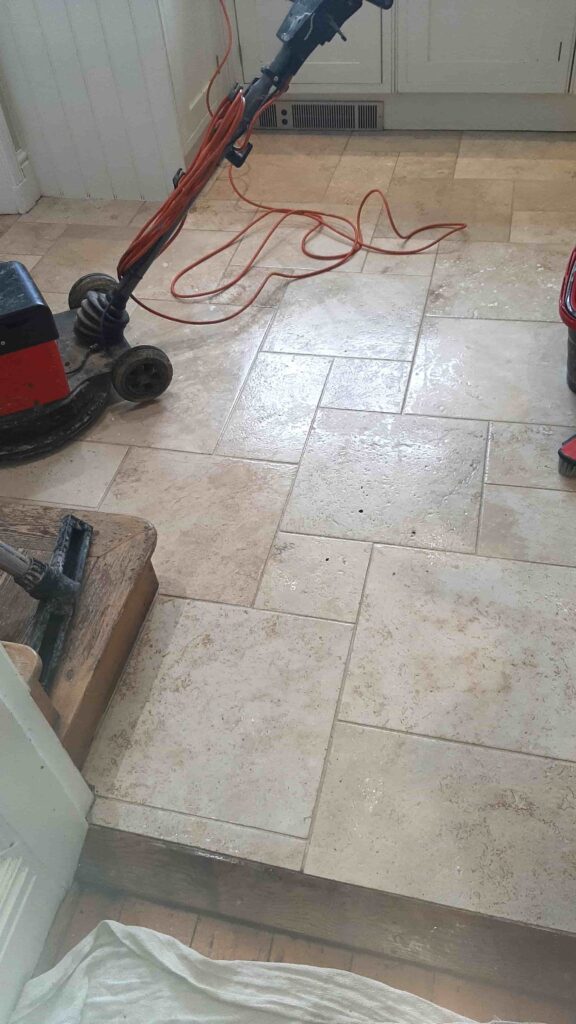
I began the stone floor cleaning with the application of a 400-grit pad fitted to a rotary buffer and ran over each tile four to five times using water for lubrication. The soiling generated from this action was then extracted with a wet vacuum and I turned my attention to the grout lines.

Limestone Kitchen Floor During Cleaning Brighouse Limestone Kitchen Floor During Cleaning Brighouse

To clean the grout, I used a strong dilution of Tile Doctor Pro-Clean which was left to soak into the grout for ten minutes before being scrubbed by hand along joint lines. This was then rinsed off and extracted as before. Switching back to the limestone floor the burnishing work continued with the 800 and 1500 grit pads, applied as before with water for lubrication and rinsing and extracting afterwards.

After the end of the first day the floor looked much cleaner, and it was left overnight to dry out.

Sealing a Limestone Tiled Kitchen

The next day I continued with the stone burnishing using the last pad in the set which is a very fine 3000-grit pad that adds a nice polish to the limestone. This pad is applied dry with only a small amount of water sprayed onto the tiles. This last pad leaves the floor dry and ready to be sealed.

The floor was then sealed with Tile Doctor Ultra-Seal which was chosen to keep the floor looking as close to its natural light colour as possible. Ultra-Seal is a virtually invisible sealer that soaks into the pores of the stone protecting it from within and works well on limestone.

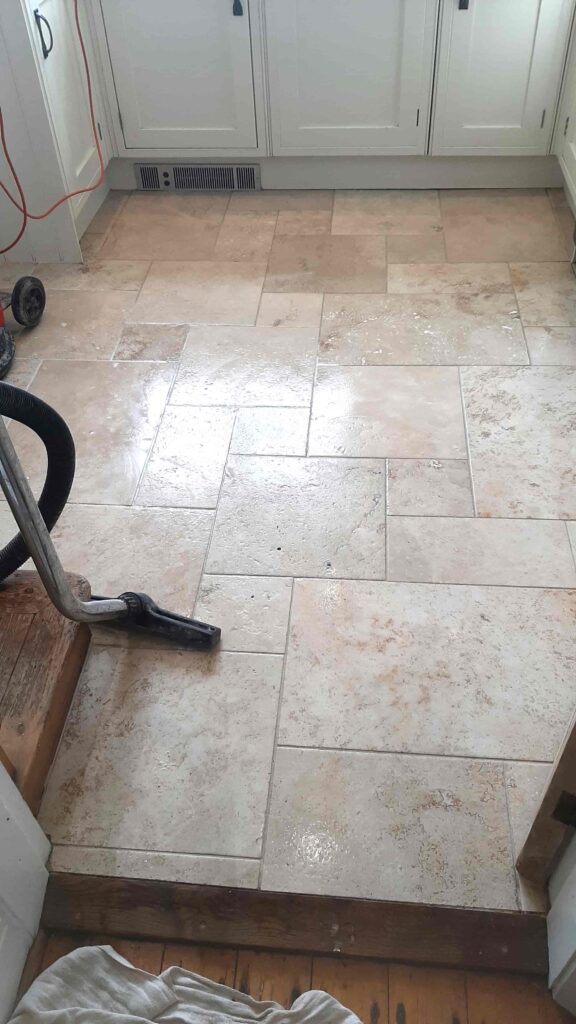
Limestone Kitchen Floor After Renovation Brighouse

The client was very happy with the result and the finish, and the new sealer would ensure dirt remains on the surface of the stone where it can easily be cleaned away with a product such as Tile Doctor Stone Soap. I always recommend this product for cleaning polished stone floors as its formula helps maintain the patina.

Limestone Kitchen Floor After Renovation Brighouse


Professional Restoration of a Limestone Tiled Kitchen Floor in West Yorkshire

Limestone kitchen floor in Brighouse Read More »

Scroll to Top