
Varnish Coated Terracotta Tiled Flooring Renovated in 1780’s Property Ripon
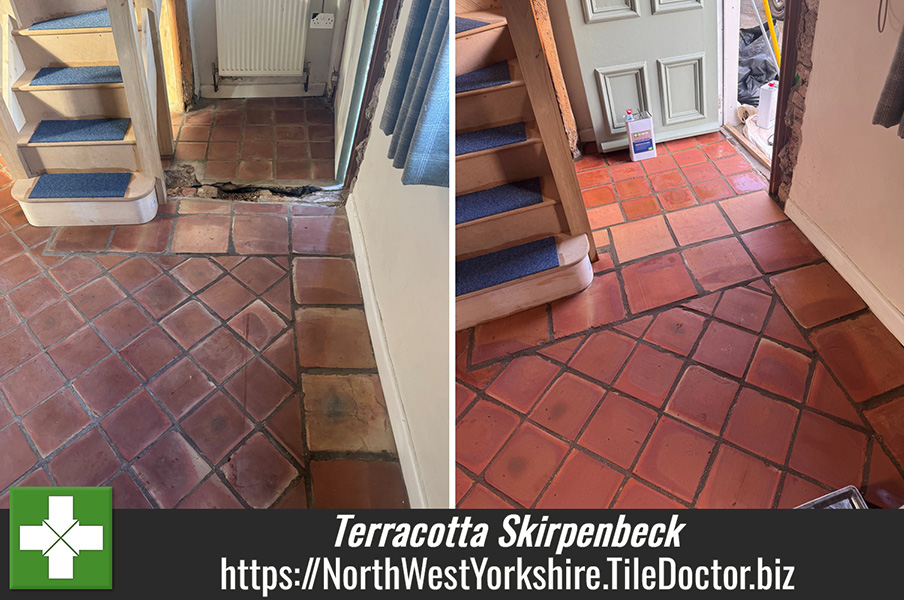
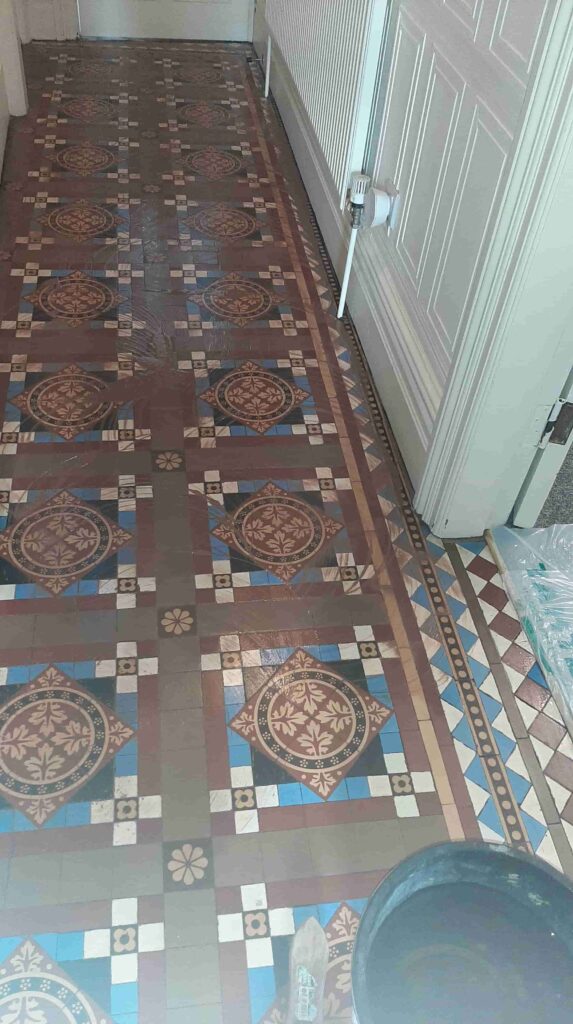
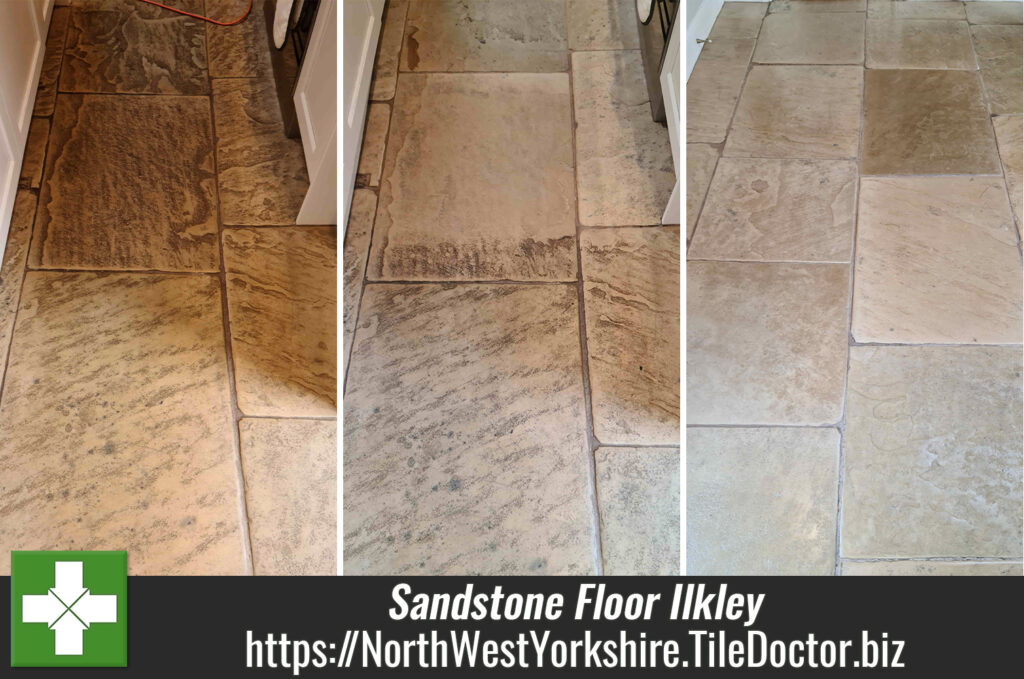
The photographs below are of a tired Terracotta floor in a 1780’s property in the cathedral city of Ripon. The floor ran throughout the living room, into the hallway and by the side entrance was a stone tiled area, both of which needed a deep clean and seal.
 |
 |
I had a good idea of what the floor would need but to clean and seal it but with Terracotta you can never be sure what coatings may have been applied previously, in fact Wax is often used and this can be a struggle to remove. To ensure there were no surprises I arranged an appointment to visit the property and survey the floor. This would also enable me to work out a detailed price for deep cleaning the terracotta tiles and grout and then sealing it.

After running some tests, it seemed to be the floor had in face been coated with Varnish and some type of surface sealer. This had since worn down in the most trafficked areas and dirt was not making its way into the pores of the Terracotta leaving it looking dull. This is quite common with terracotta; being made from clay it is very porous and does need a lot of sealer to prevent that from happening.
Happy with my quote I was given the go ahead to renovate the floor but with the stipulation that the work had to be completed in two days due to the owners’ commitments. It was a reasonably large floor so it would be a push but it could be done so a date was agreed for the work to start.
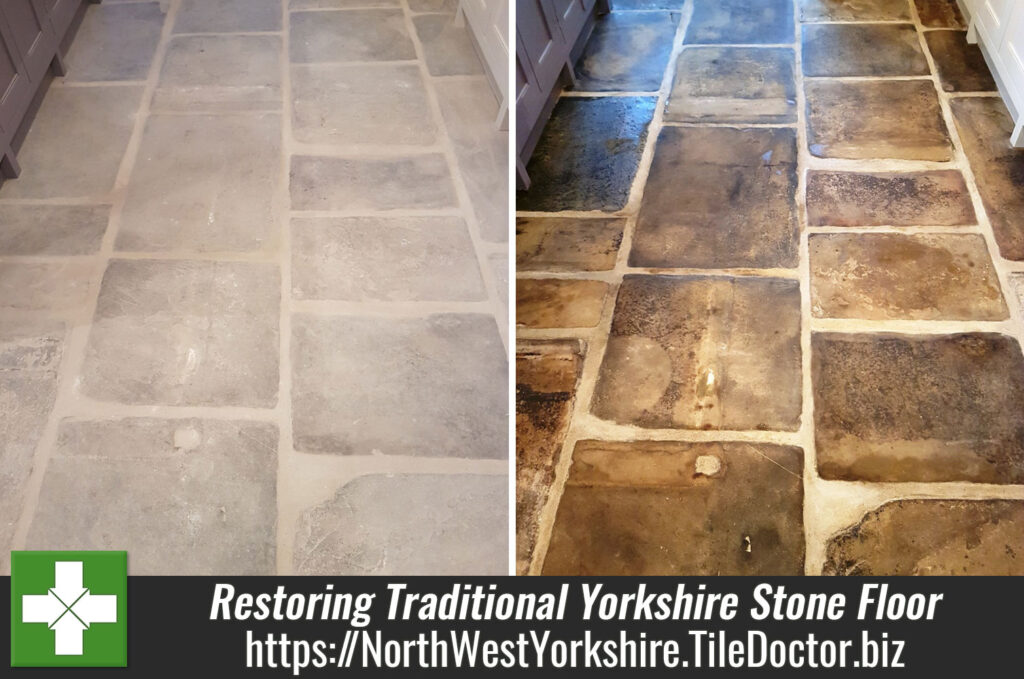
Cleaning a Terracotta Tiled Hallway Floor
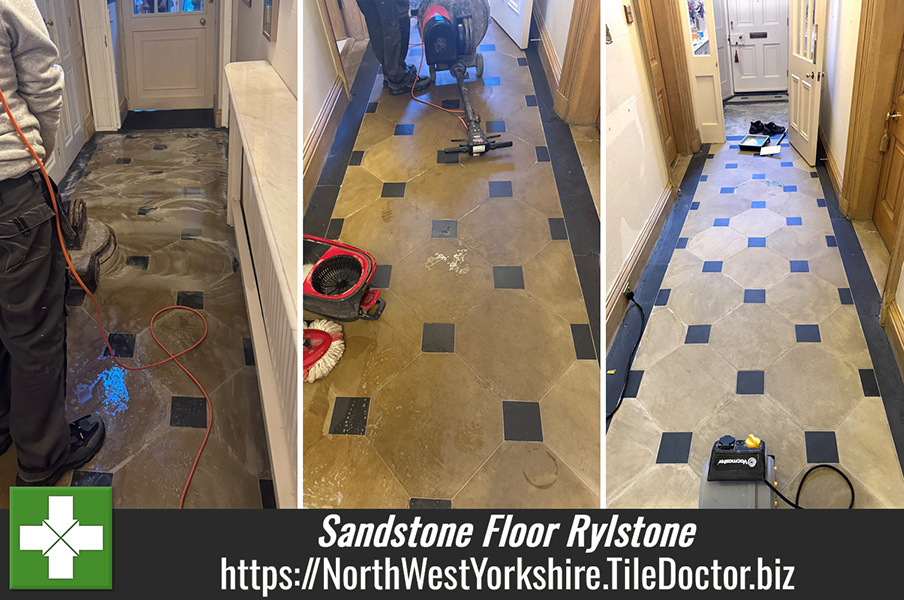
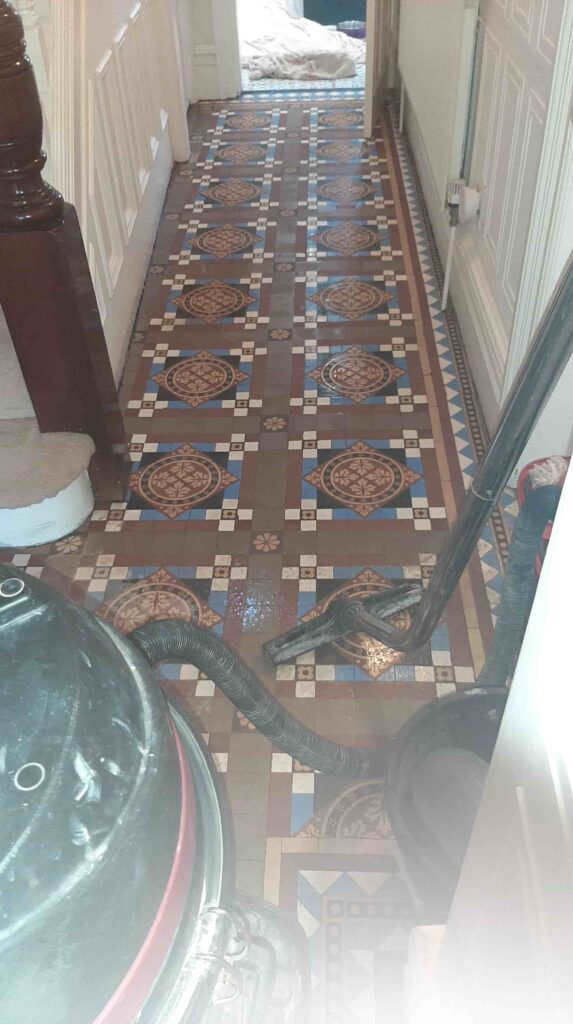
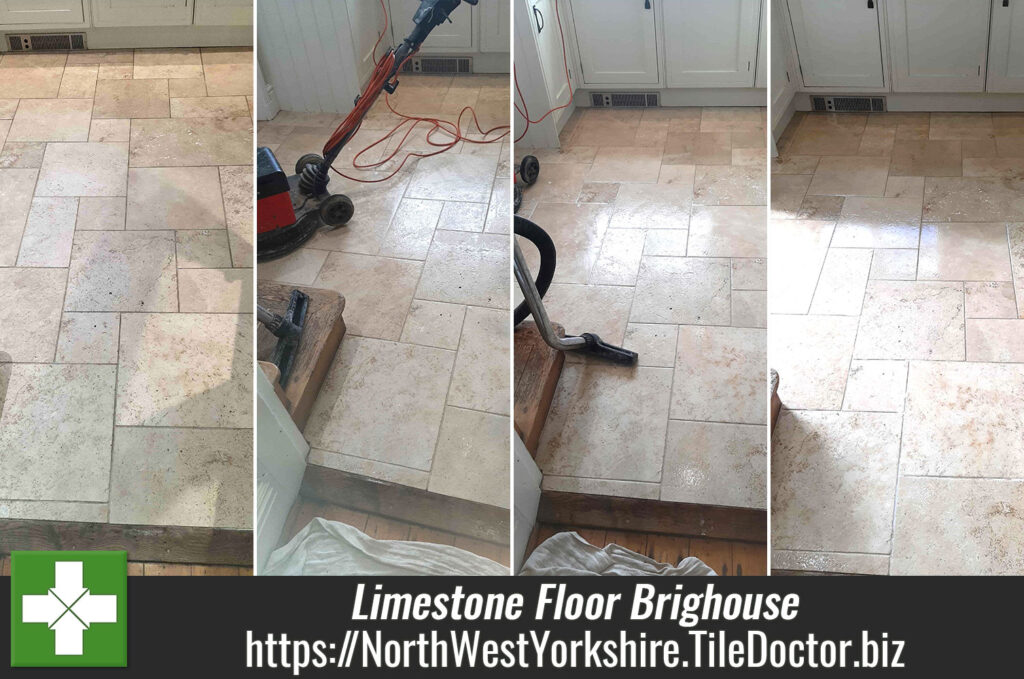
To clean the floor and remove what remained of the previous protective coatings the floor was sprayed with a strong dilution of Tile Doctor Remove & Go. This was then left to soak in for ten to fifteen minutes to give it time to break down the coatings and ingrained dirt. The solution was then worked into using a Black Pad fitted to a rotary machine. Once done the floor was rinsed with water and the soils extracted with a wet vacuum.
The floor was inspected, and any problem areas retreated using the same process until I was happy with the floor. Once done the grout lines were scrubbed using Tile Doctor Pro-Clean worked in by hand with a stiff brush.
Once the floor was clean it was rinsed again and the dried thoroughly with the wet vacuum. Two floor dryer fans were then left in place to help the floor to dry out ready for the next day.
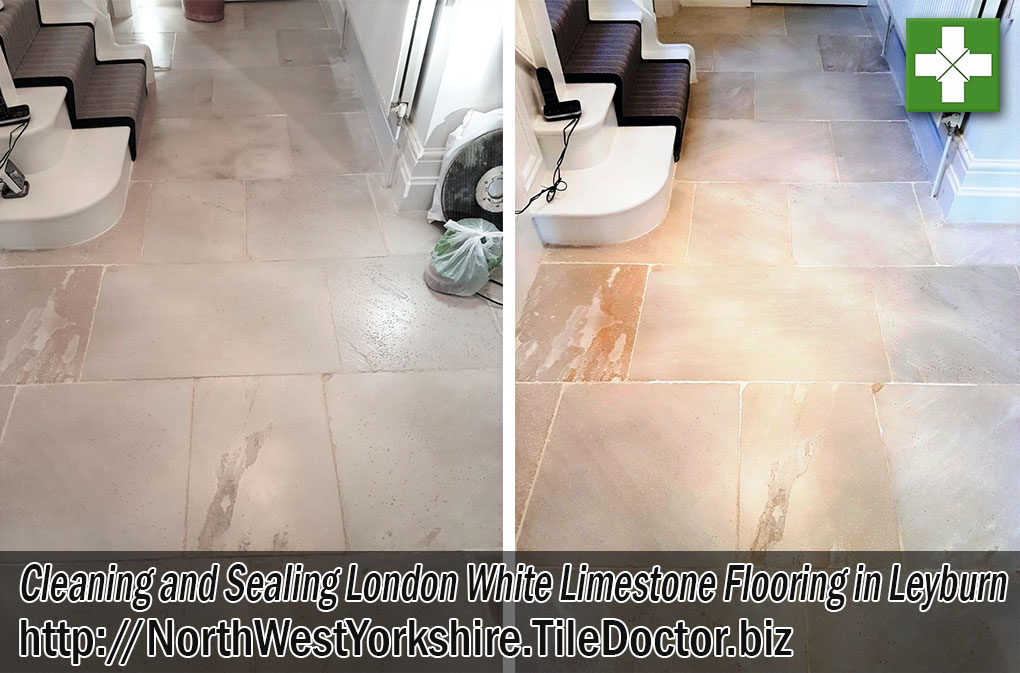
Sealing a Terracotta Tiled Hallway Floor
The next morning moisture reading were taken from the tiles to ensure they had dried off sufficiently overnight and were now ready for sealing. This confirmed the floor fans had done the job and with the results within tolerance we had a green light to apply the sealer.
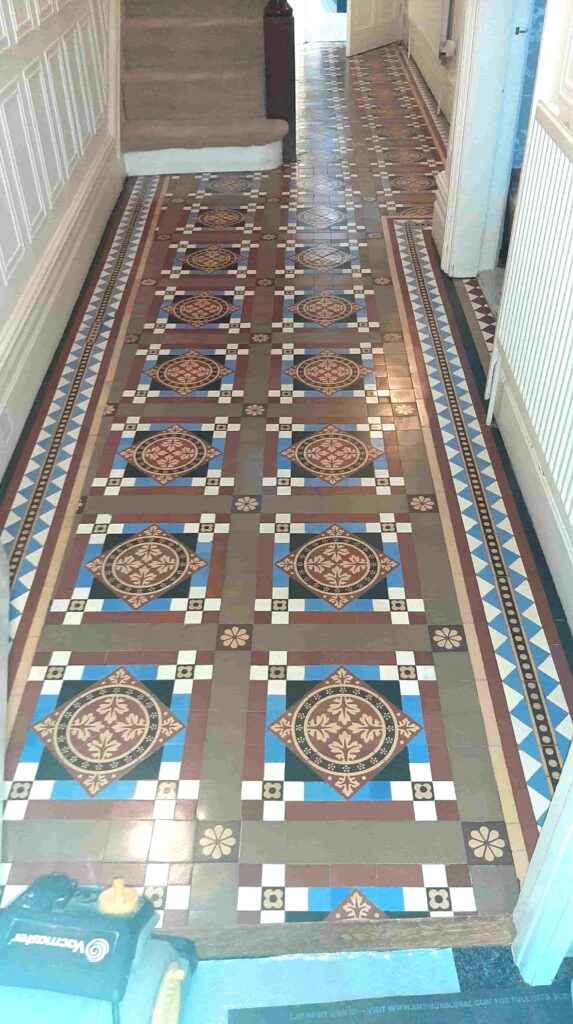
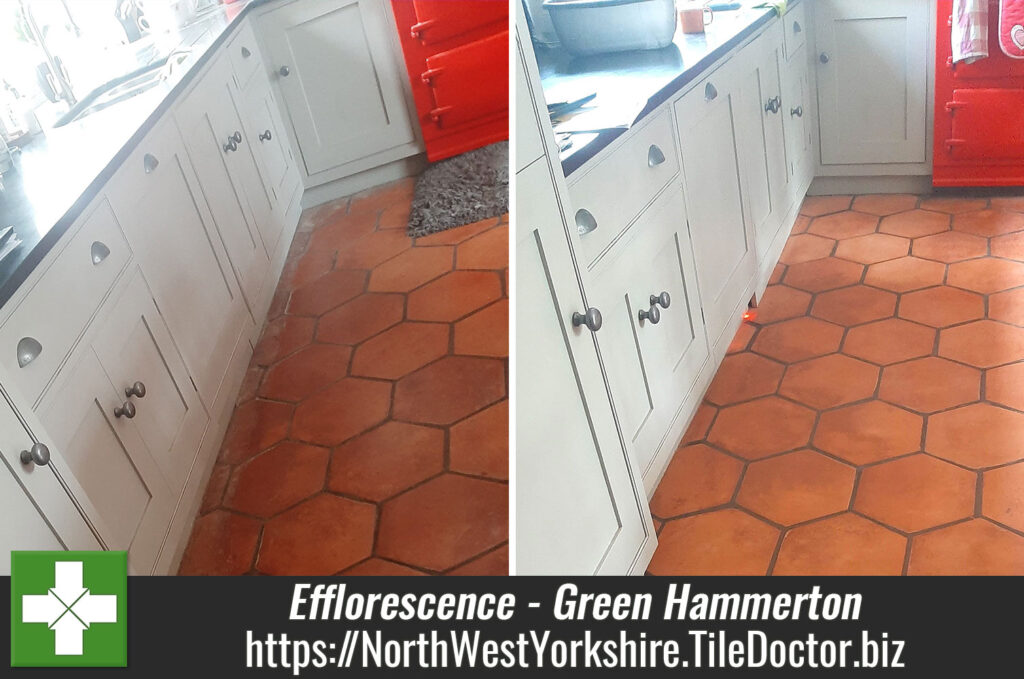
On this occasion and due to the age of the property Tile Doctor X-Tra Seal was used to seal the Terracotta. With old properties you can’t be certain a damp-proof membrane is present under the floor so it’s best to use a fully breathable product that can cope with potential dampness. X-Tra Seal allows for moisture transmission and is also a hard-wearing impregnator that’s rated for external use so ideal for hallways. Being an impregnator it soaks into the pores of the tile protecting it from within and ensuring any dirt remains on the surface where it can be easily cleaned away.

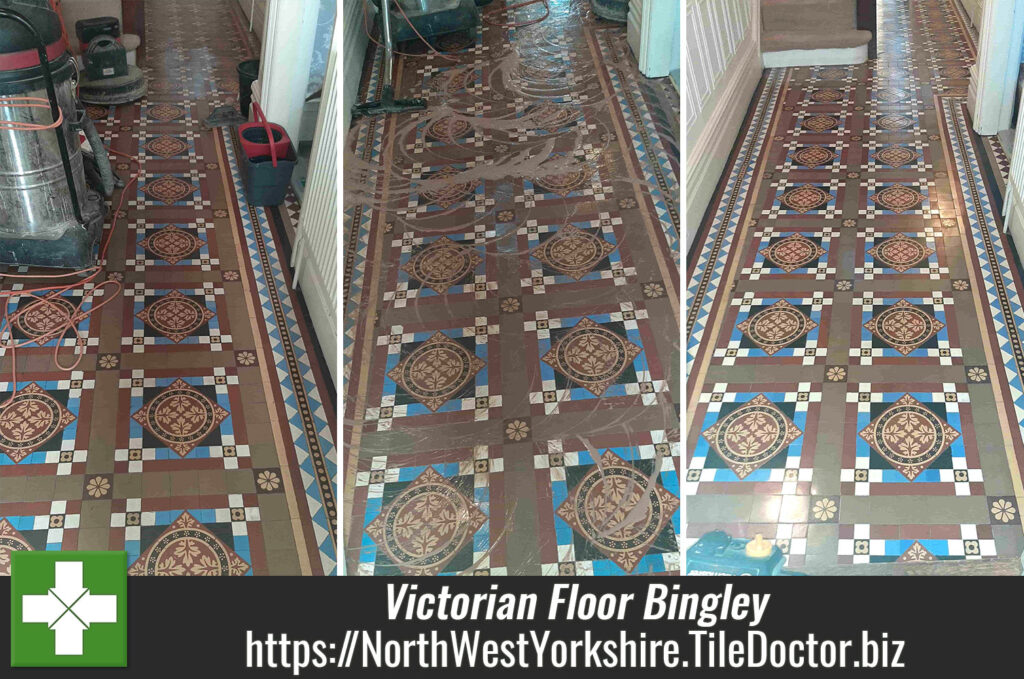
Once done the floor looked much cleaner and brighter and the new sealer should ensure it remains that way for many years to come. My customer was highly delighted and left the following feedback:
For aftercare cleaning I recommended Tile Doctor Neutral Tile Cleaner which is a mild yet effective cleaning product that won’t affect the sealer.
 |
 |
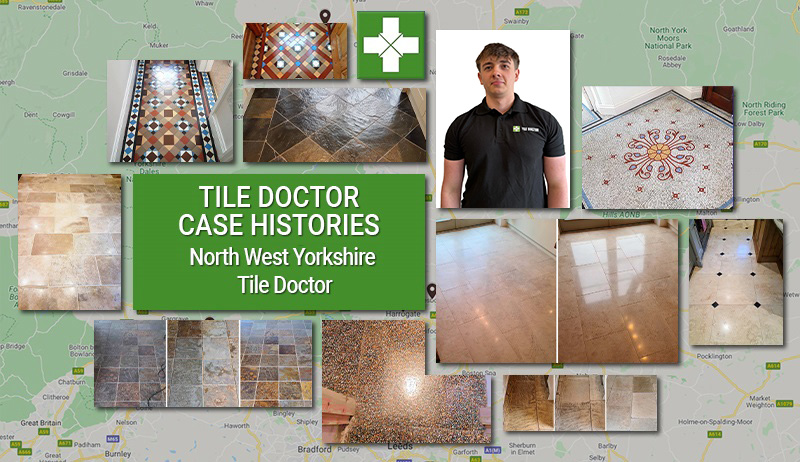
Professional Restoration of a Terracotta Tiled Hallway in Northwest Yorkshire
Varnish Coated Terracotta Tiled Flooring Renovated in 1780’s Property Ripon Read More »