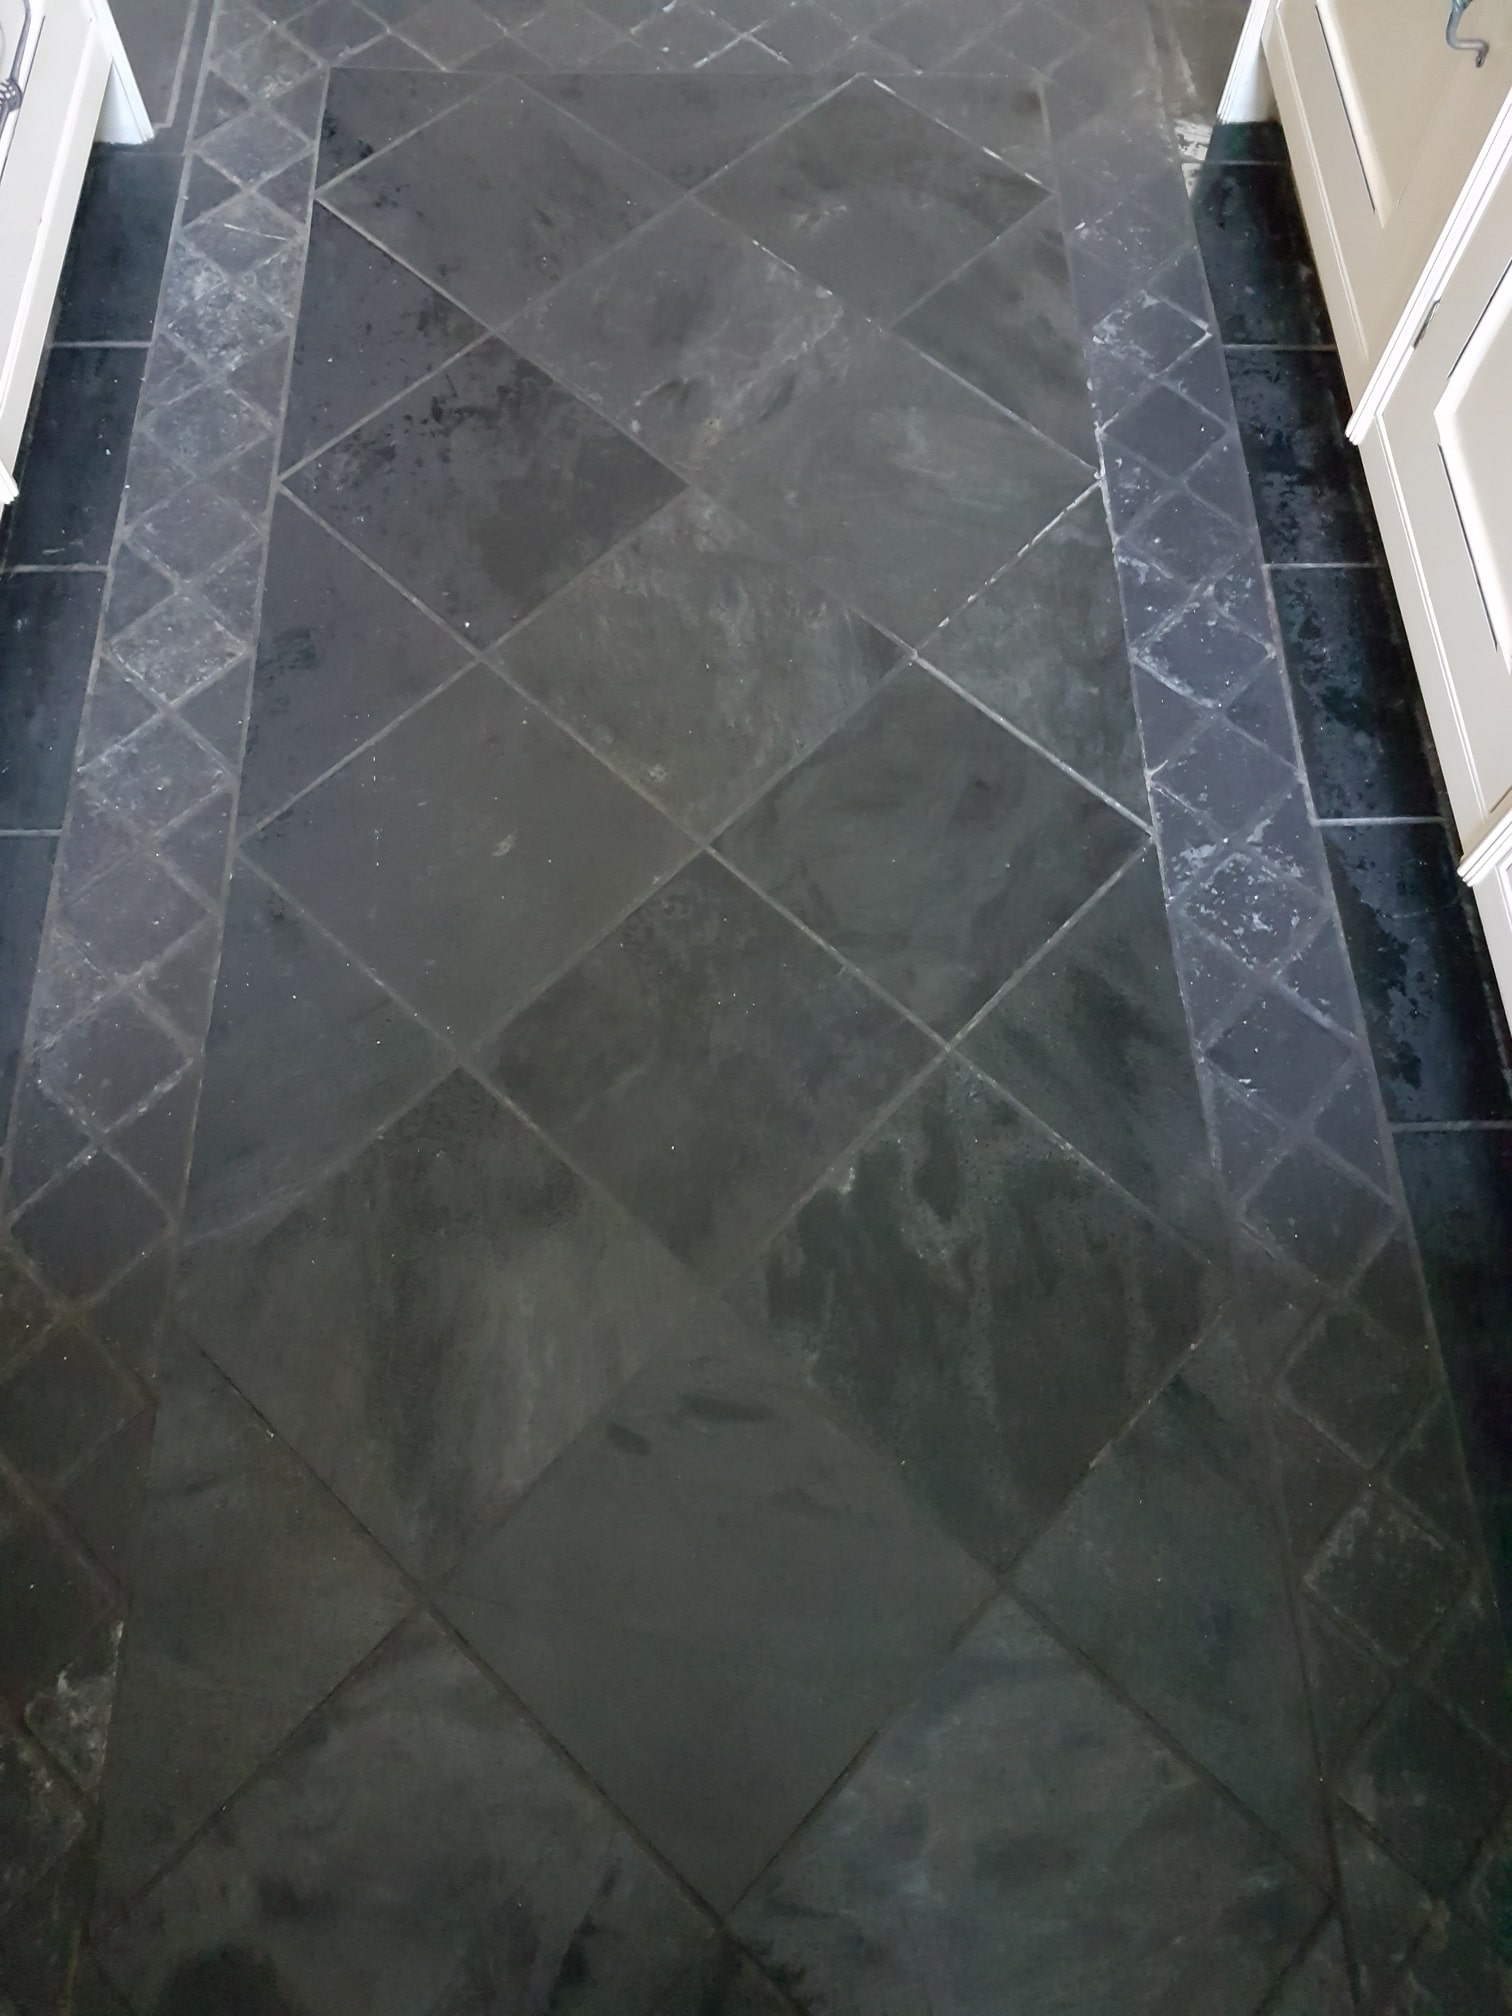
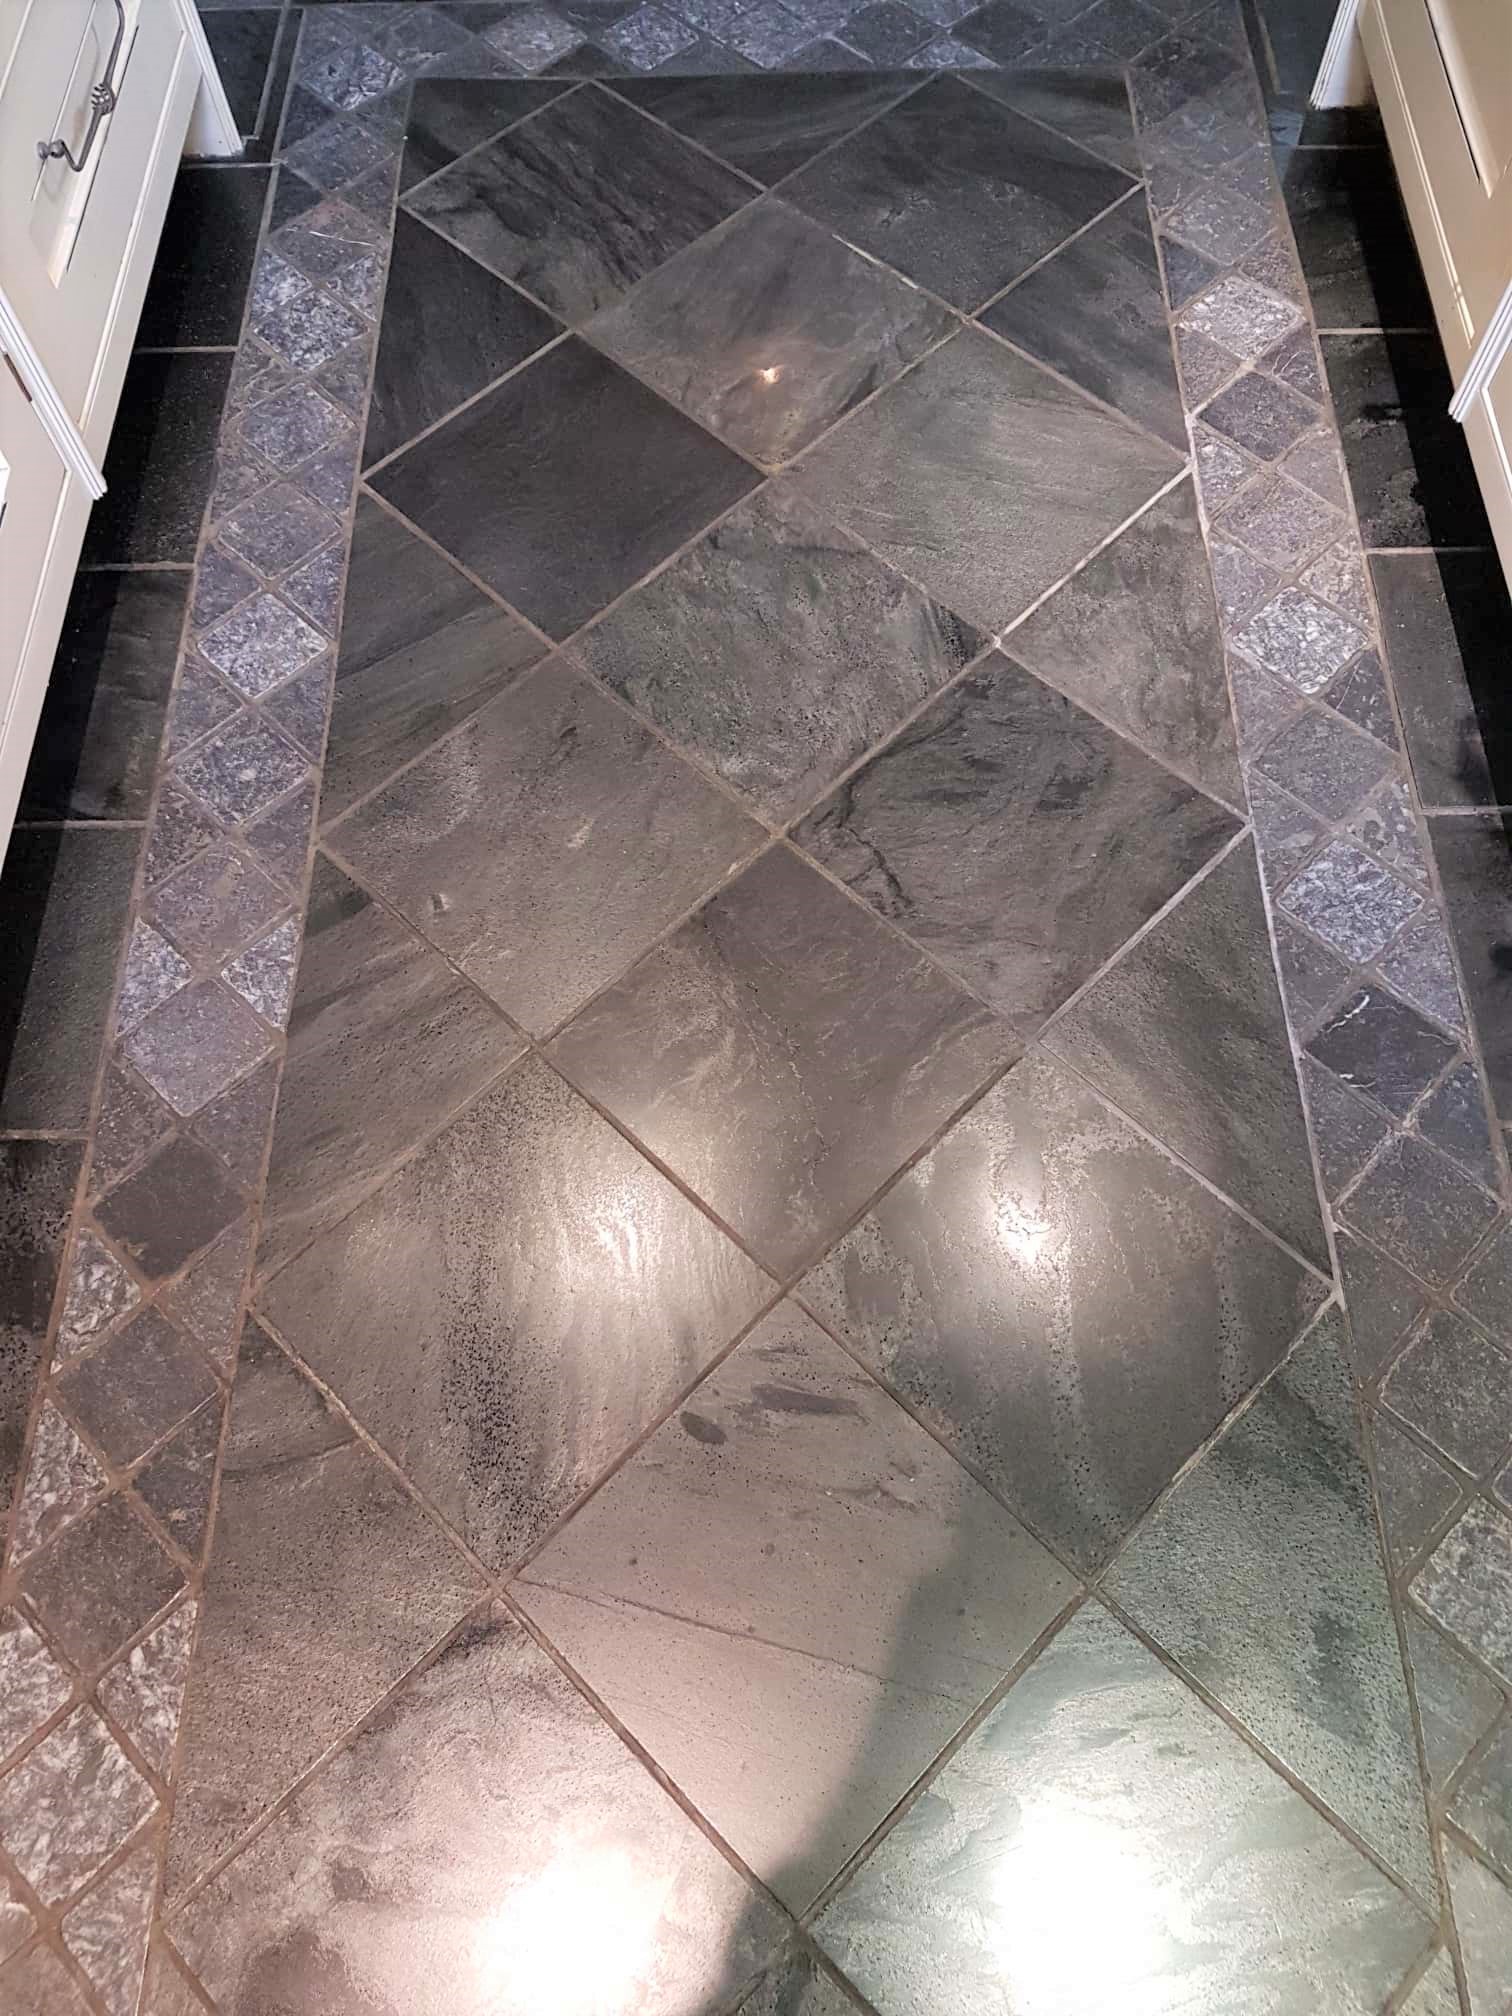
I was recently asked to survey an unusual stone floor at a house in in Harrogate comprising of Slate inlaid with Granite. The client advised that it had not been cleaned properly for 20 years and wanted it renovating! It was now definitely overdue a deep clean and professional attention. Fortunately, having worked on these floors for many years I knew I could make a substantial impact and transform its appearance. Fossilized slate is a beautiful stone when cleaned and sealed correctly.

The owner confessed they had actually been sealing the floor every two years but without a deep clean first, so they were effectively sealing in the dirt each time. I discussed with them the process I would use to clean and re-seal the floor and we agreed a price to carry to out the work.
Cleaning Slate and Granite Tiled Kitchen Floor
To remove the layers of old sealer and dirt used a set of Tile Doctor Diamond Burnishing pads. The pads are attached to a rotary floor machine starting with the coarse 400-grit pad which was lubricated with a dilution of Tile Doctor Remove and Go to help strip the floor of dirt and layers of sealer. After rinsing and extracting the soil I worked through the different grades of pads in sequence finishing with the 1500-grit and this time using just water for lubrication.
A set of diamond handheld burnishing blocks were then used to clean up the edges and corners where the large 17” pads struggle to reach. This ensures all areas are treated and free of dirt and old sealer.
The floor was then rinsed and extracted again to remove the remaining soil. I find a wet vacuum is an invaluable tool for this. The floor was then left to dry out overnight ready for sealing the next day.
Sealing a Granite and Slate Tiled Kitchen Floor
I returned the next day to seal the floor, first checking with a damp meter that the floor was dry, and the moisture reading was below the acceptable level. These results were fine, so I had a green light to continue and seal the stone.
The customer wanted a shine on the floor so rather than apply a satin sealer which I felt wouldn’t adhere to the stone properly I decided to polish the floor further with a the last of the four burnishing pads which is a very fine 3000-grit pad. You don’t need to use a lot of water with this last pad just a small amount sprayed onto the floor using a technique we refer to as a ‘Spray Burnish’.
To seal the floor, two coats of Tile Doctor Colour Grow were applied. This is an impregnating matt sealer which intensifies the natural colours of this beautiful stone and provides long lasting durable protection.

Even I was impressed with the finished result but more importantly the client was over the moon. To keep the floor looking its best I recommended they use Tile Doctor Stone Soap which is pH neutral. You should always read the label in detail when choosing a floor cleaning product as many are too strong and not recommended for sealed stone surfaces as they will prematurely erode the sealer.


Tile Doctor have a range of sealers that cover all types of finish and situations, before having your tile or stone floor sealed its worth contacting Tile Doctor for advice and to ensure your using the tight sealer for your requirements.