York Tile Cleaning

York Tile Cleaning

Welcome to my Work History archive where you will find examples of the cleaning and renovation of tiles carried out in York.

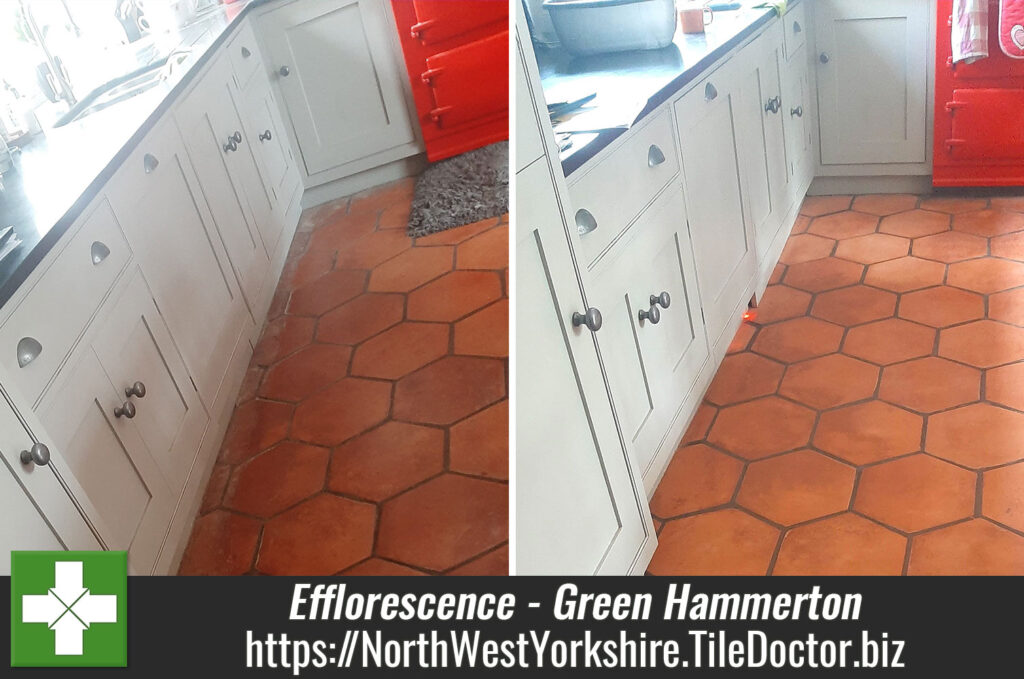
Salt Stained Terracotta Tiled Kitchen Floor Renovated in Green Hammerton York

Removing Staining from a Terracotta Floor Due to a Leaking Dishwater in Green Hammerton

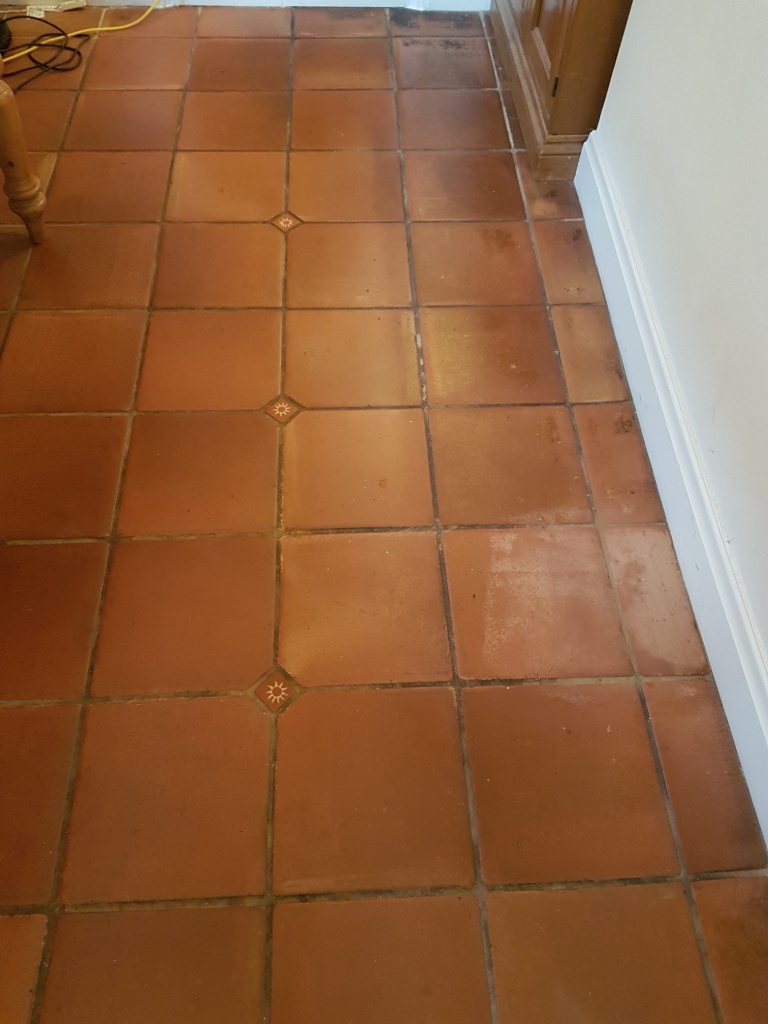
These photos came from a property in the village of Green Hammerton on the outskirts of York. The terracotta floor tiles were fairly old, we believe around 30 years and had been the victim of a leaking dishwasher which had resulted in staining and efflorescent salt deposits. You can see this next on the tiles next to the kitchen kick boards in the photograph below.

Stained Terracotta Tiled Kitchen Floor Before Cleaning Green Hammerton York

The client wanted the staining removed and the tiles restored to their original condition, however they were happy with a large part of the floor and so only wanted the impacted section cleaning. I was happy to do this however, I did raise a concern that the section I would be working on wouldn’t blend in with the rest of the floor.

Cleaning a Terracotta Tiled Kitchen Floor

I first treated the tiles with Tile Doctor Remove and Go to clean and remove the old sealers. This was applied in the usual way of spraying the affected section with a strong dilution, letting it soak in for ten minutes and then scrubbing it in with a black pad fitted to a rotary machine. The resultant slurry was then removed using a wet vacuum.

To cure the efflorescent salt problems the tiles was then treated to an acid rinse using Tile Doctor Acid Gel. The gel was applied to the floor and scrubbed in with a deck brush before being rinsed off and extracted as before. Being a gel its is very easy to control allowing the acid to dissolve the alkaline salts in the floor and further cleans the Terracotta to remove old grout stains.

Sealing a Terracotta Tiled Kitchen Floor

I let the tiles dry out for a few days, then used a handheld polishing machine to remove any residues and prepare the surface for a fresh sealer. I used a few coats of Tile Doctor Colour Grow as a base and then a light coat of Tile Doctor Seal and Go Extra for the finish to match the rest of the floor. This saved the client the expense of having all the floor stripped, deep cleaned and re-sealed. My client was happy with the result which had solved their problem.

Stained Terracotta Tiled Kitchen Floor After Renovation Green Hammerton York

For aftercare cleaning I recommended the use of Tile Doctor Neutral Tile Cleaner to keep the floor in great condition. This is a pH neutral product which means it ill not strip the newly applied sealer like an acidic household cleaner would. It is mild enough to use daily if needed and has a lovely fresh fragrance. It is therefore perfect for a heavy traffic area such as the kitchen.


Professional Renovation of a Terracotta Tiled Kitchen Floor in North Yorkshire

Removing Staining from a Terracotta Floor Due to a Leaking Dishwater in Green Hammerton Read More »

Victorian Tiled Hallway Floor Renovation York

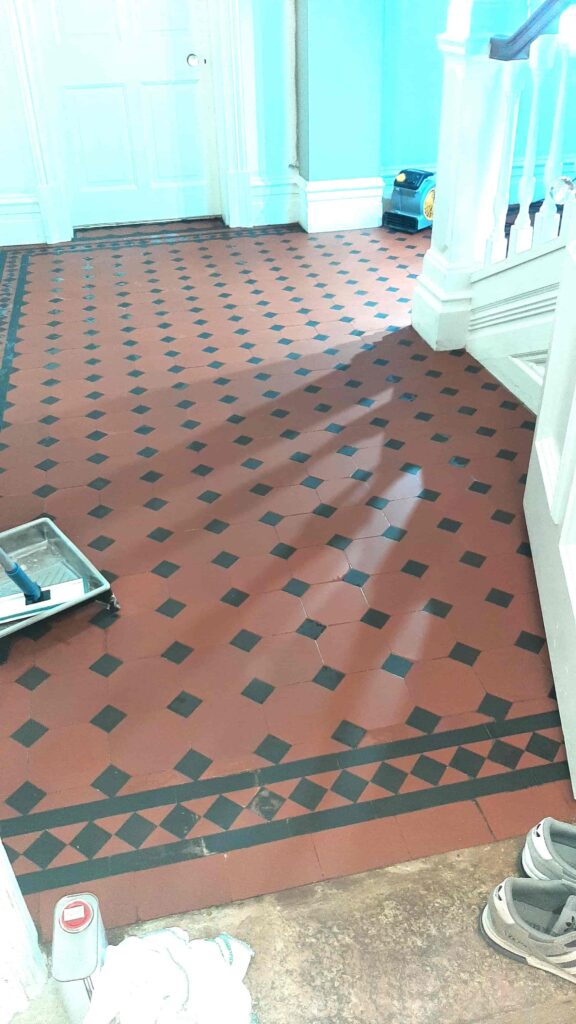
Carpet Covered Victorian Tiled Hallway Renovated in York

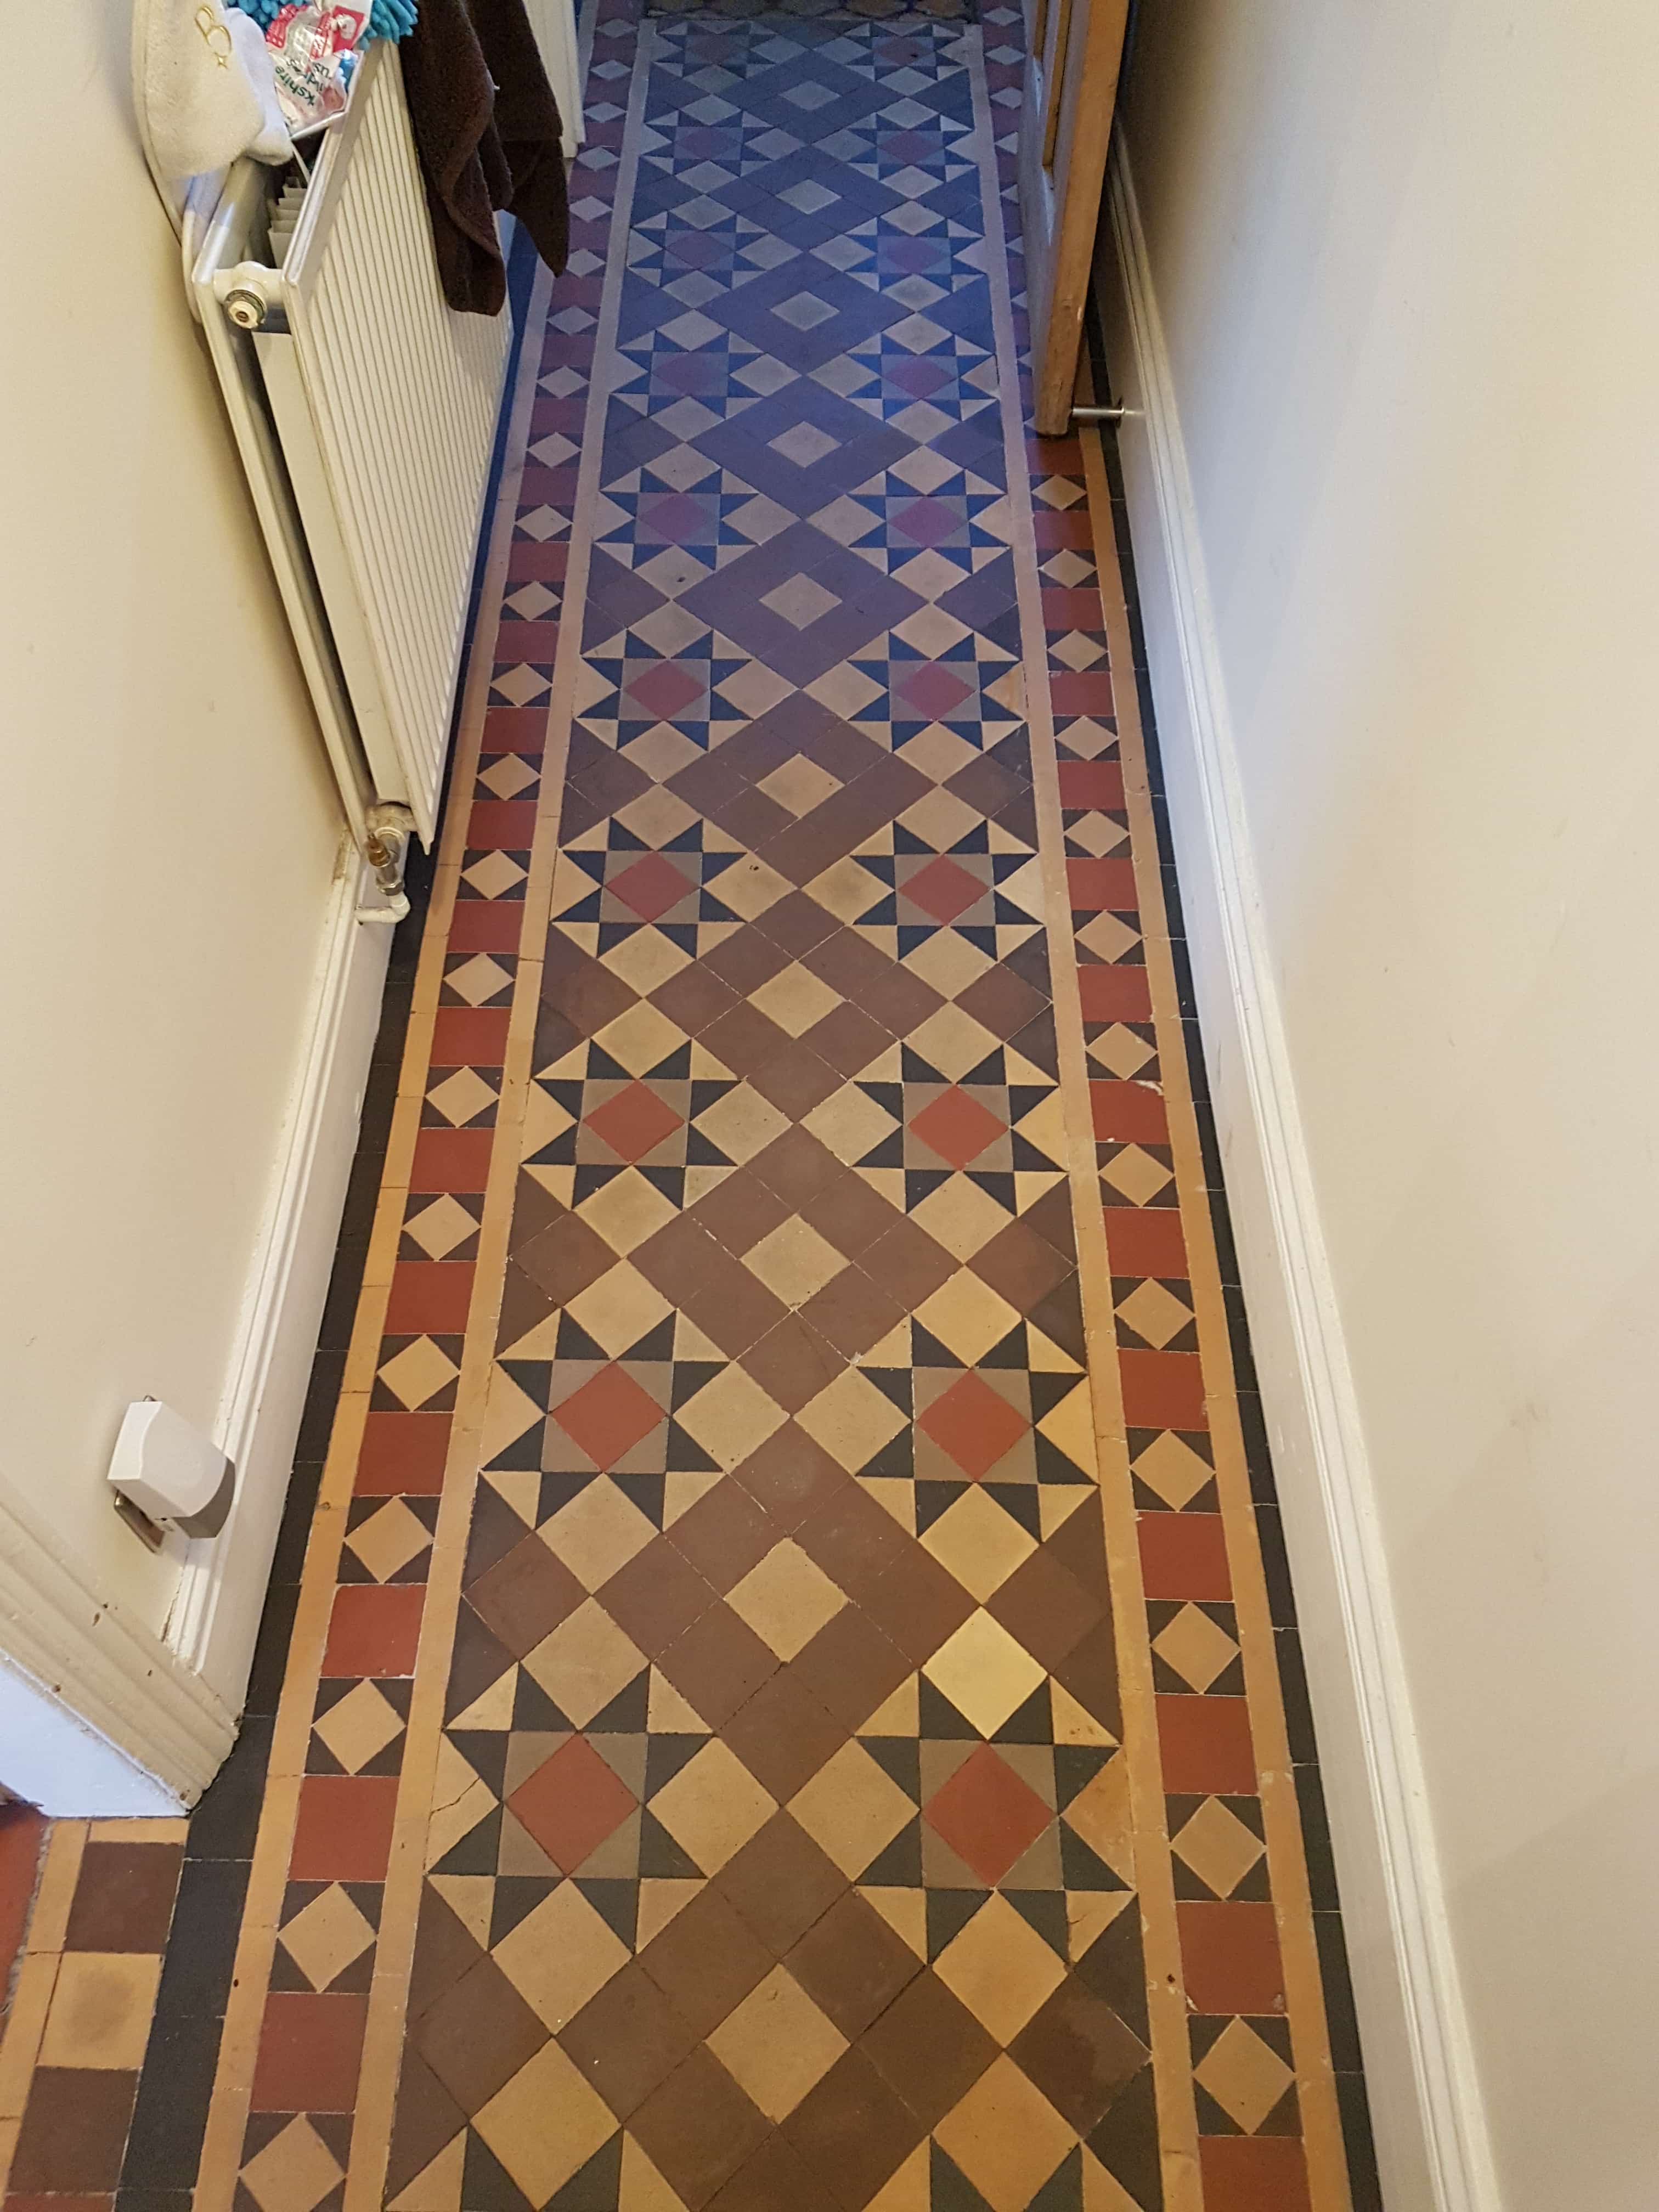
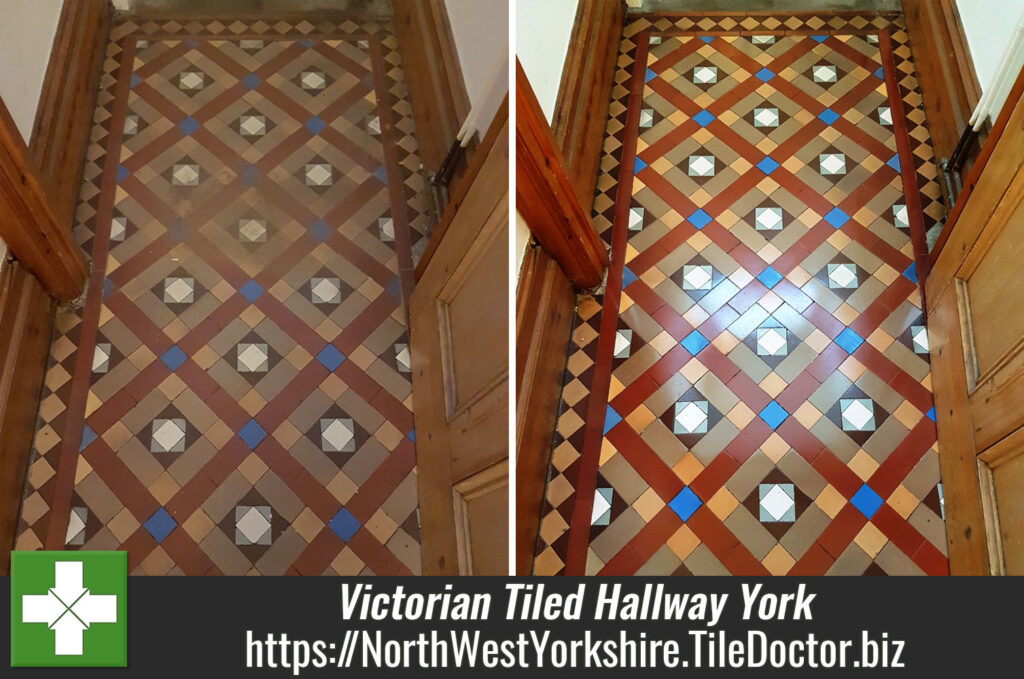
The photos below are of a Victorian tiled floor at a property in York, which was found under the hallway carpet and underlay. The carpet had been secured with glue which had left a lot of stains on the tile as well as the usual marks and plaster left on the surface from building works. The carpet had done a good job of protecting the tiles, but I could see there was a lot of ingrained dirt in the tile itself which would need removing.

Victorian Hallway Floor Tile Before Cleaning

The owners were keen to have the floor restored however It was a busy household and with the hallway being in constant use the work would have to be done in sections to allow for access and completed quickly to minimise impact. I worked out a quote which was accepted, and a date set for the work to be done.

Cleaning Victorian Tiles Tiles

To soften the plaster staining and breakdown the ingrained dirt I sprayed the floor with a strong dilution of Tile Doctor Pro-Clean mixed with Remove and Go and left it to soak into the section of tiles. This is a strong combination of products which combine to produce an effect tile and grout cleaner and coatings remover which will not only clean the tile but also strip off what was left of the original sealer as well as any contaminates.

After ten minutes the solution was scrubbed into the tiles using a coarse 100-grit diamond burnishing pad. The pad scrubs away at the tile and opens the pores in the tile allowing the dirt to be flushed out. The cleaning solution soon turns black with the dirt which is then removed using a powerful industrial wet vacuum. This process was then repeated using a 200-grit pad which further cleans the Victorian tiles and improves their appearance and removed years of dirt and stains.

Victorian Hallway Floor Tile During Cleaning Victorian Hallway Floor Tile During Cleaning

The floor was then treated to an acid rinse using a dilution of Tile Doctor Grout Clean-Up worked in with a Black scrubbing pad. This treatment further cleans the tiles and will counter any efflorescent salts which can build up in an old floor like this that doesn’t have a damp-proof membrane installed. These old floors need to breathe so moisture can rise through the tile and evaporate at the surface however carpet and underlay prevents this so efflorescence is always a concern. The acidic nature of the product also neutralises the pH level of the floor following the use of the strong alkaline cleaning products earlier.

After a further rinse the floor was dried with the wet vacuum and then left to dry off fully overnight ready for sealing the next day.

Sealing Victorian Tiles Tiles

Upon my return to the property, I took several moisture readings from the tiles which confirmed they had dried and were ready to be sealed. Sealing protects the tiles from ingrained dirt ensuring that dirt remains on the surface where it can be easily removed.
The sealer chosen for this floor was Tile Doctor Colour Grow which was chosen because its fully breathable thereby allowing moisture to pass through the tile, it also contains a colour enhancer that brings out the red colours in the clay tile.

Victorian Hallway Floor Tile During Sealing Victorian Hallway Floor Tile During Sealing

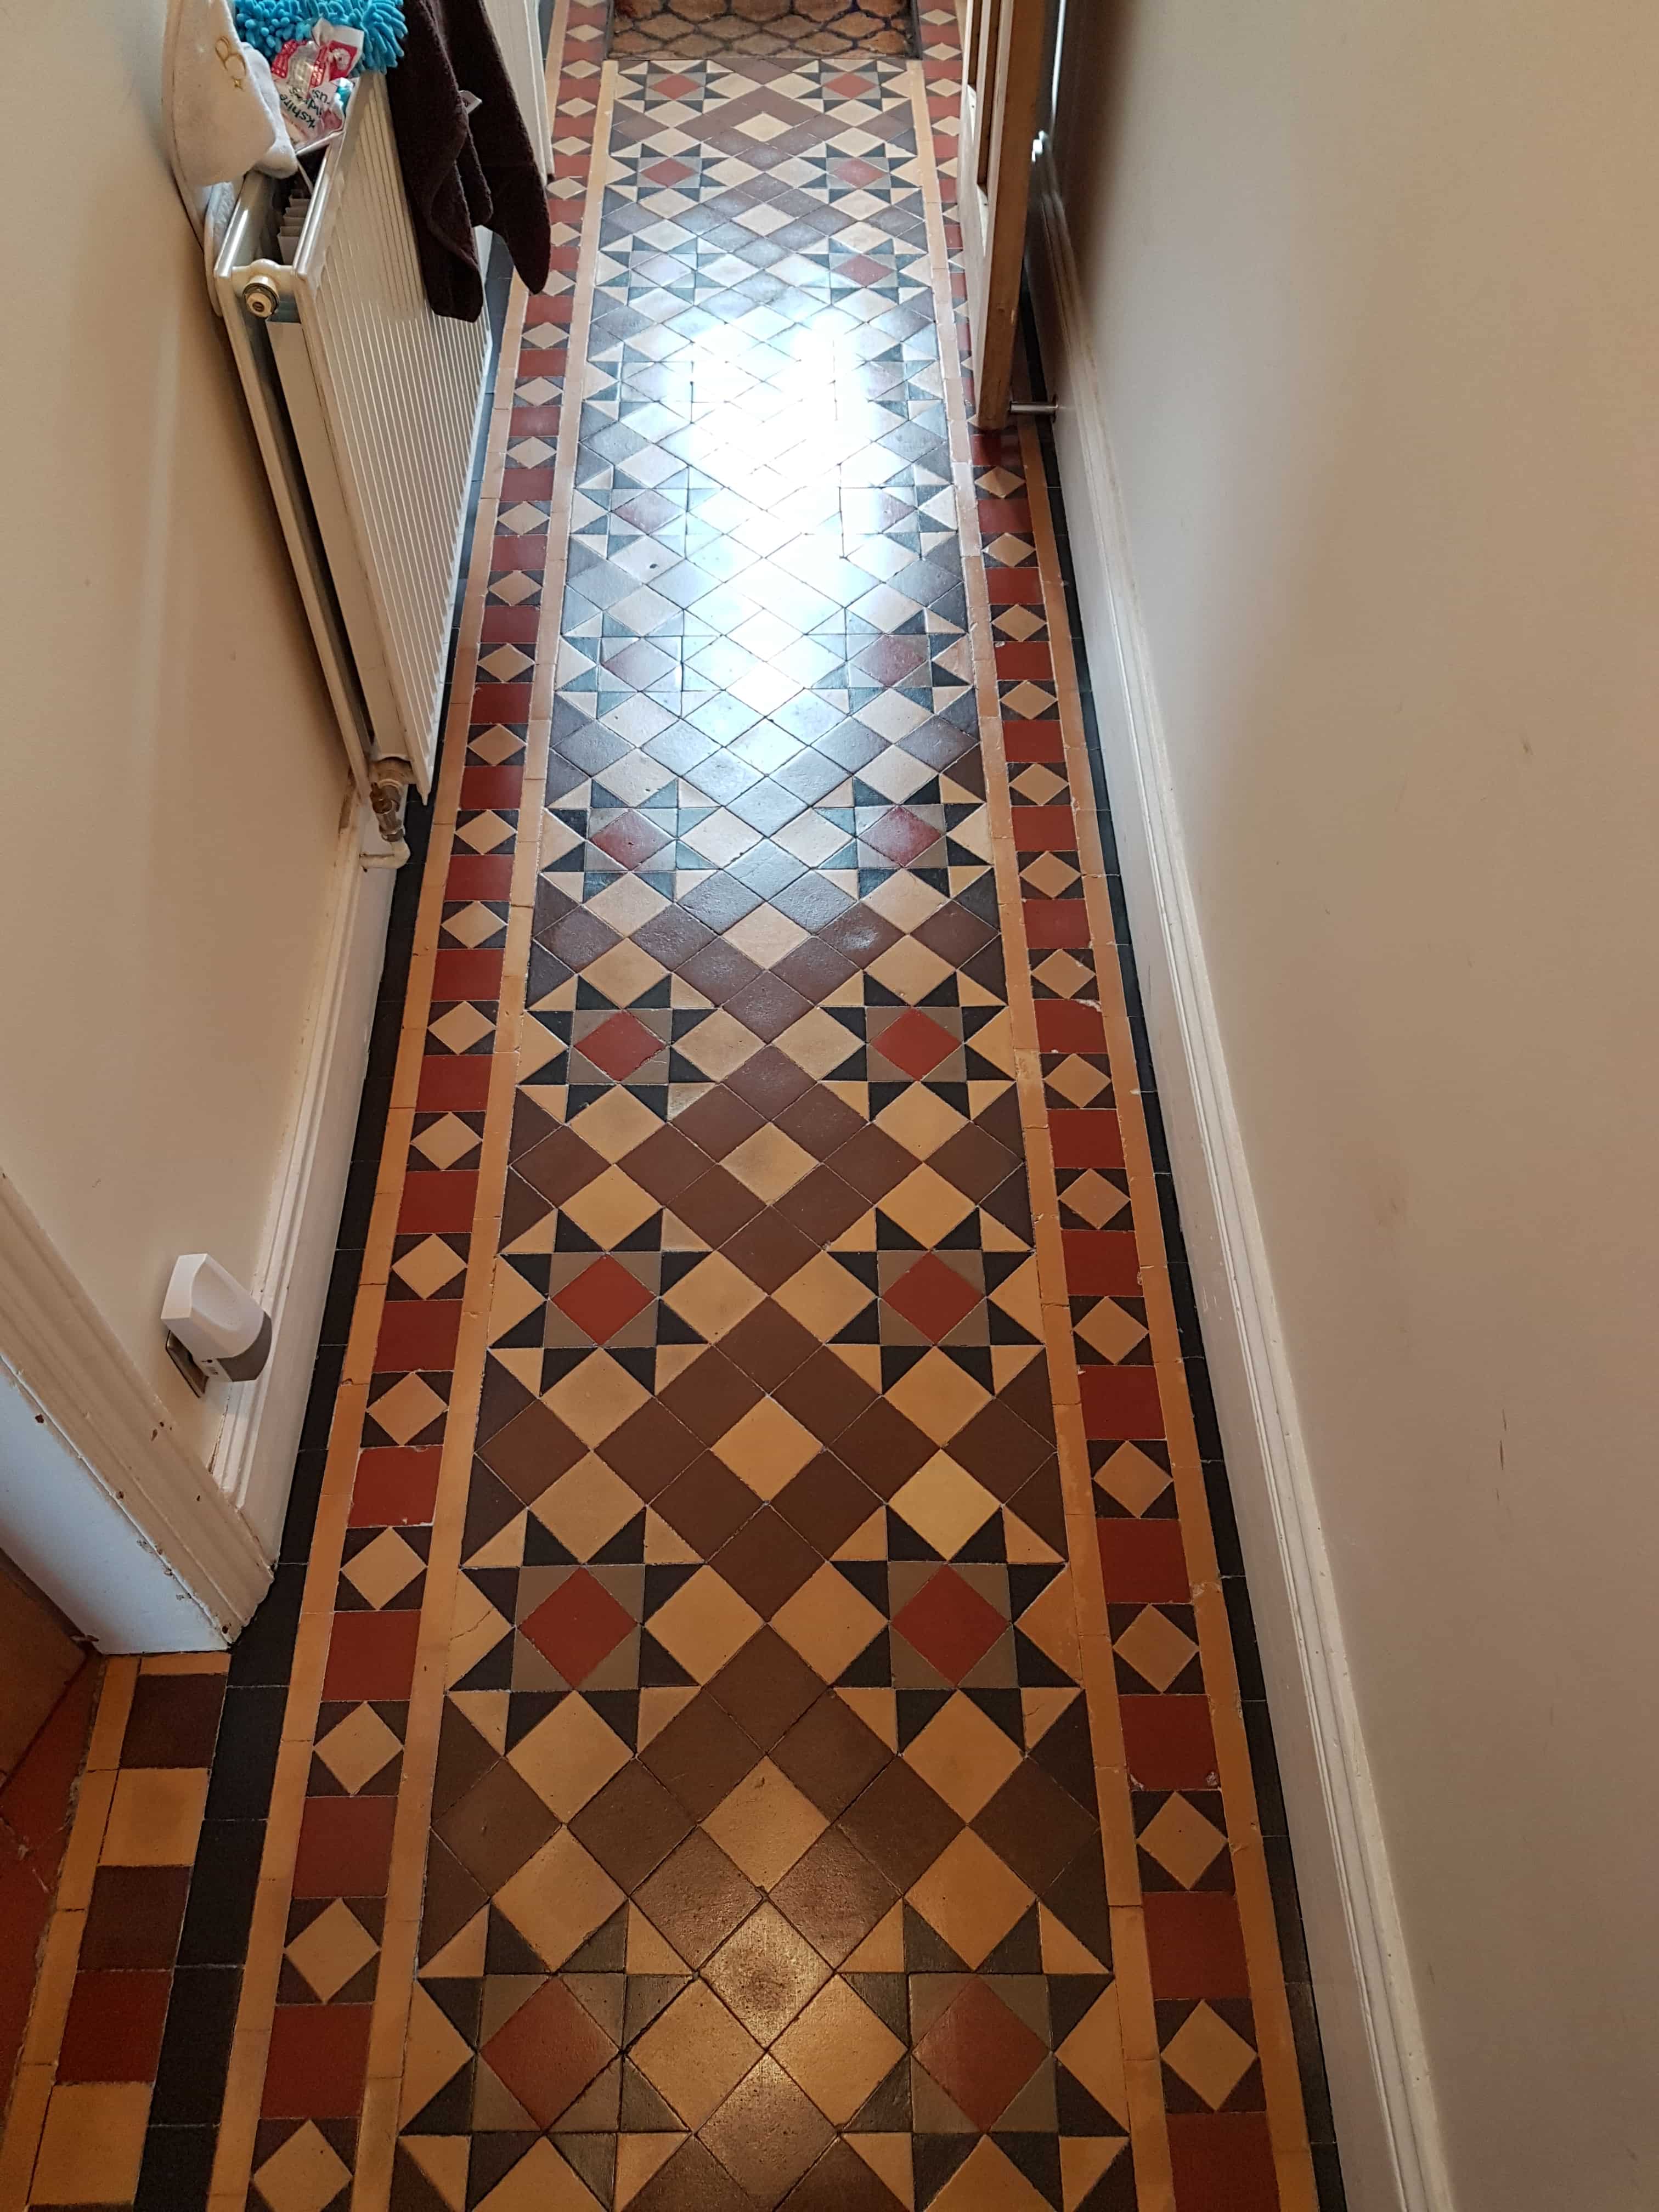
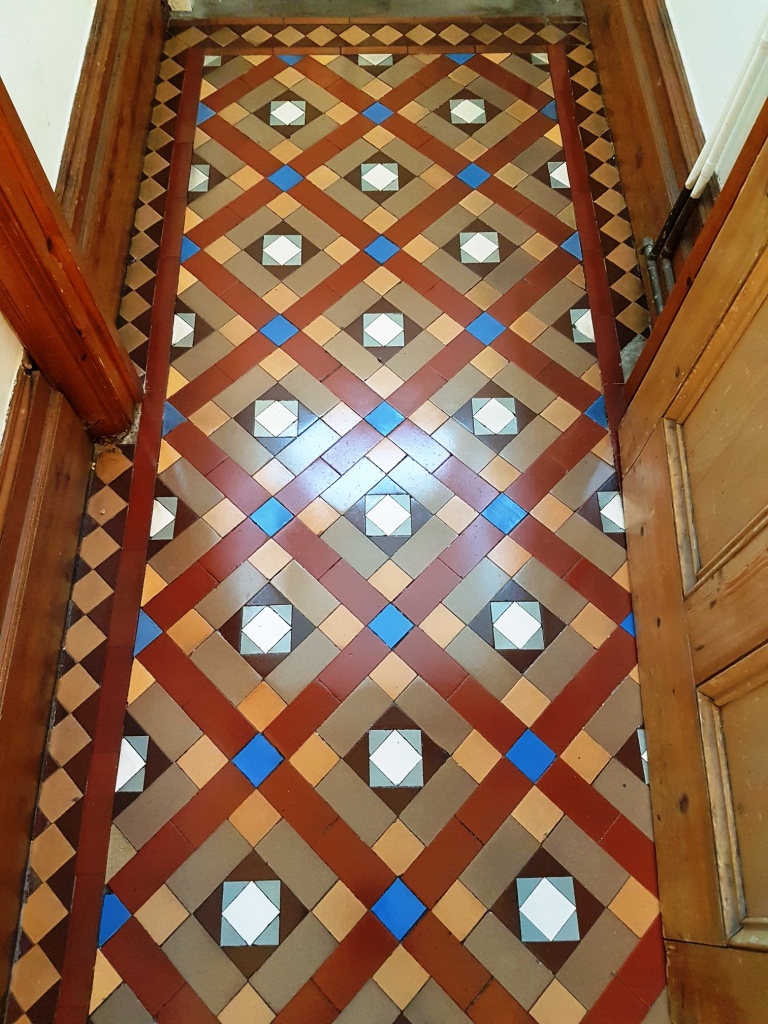
The hallway tiles now looked clean and much brighter, needless to say my customer was very happy with the transformation and by working in sections I was able minimise disruptions.

Victorian Hallway Floor Tile After Cleaning Sealing


Victorian Tiled Hallway Renovation in Yorkshire

Carpet Covered Victorian Tiled Hallway Renovated in York Read More »

Limestone Tiled Floor Before After Renovation York

Restoration Clean of a Limestone Tiled floor in York

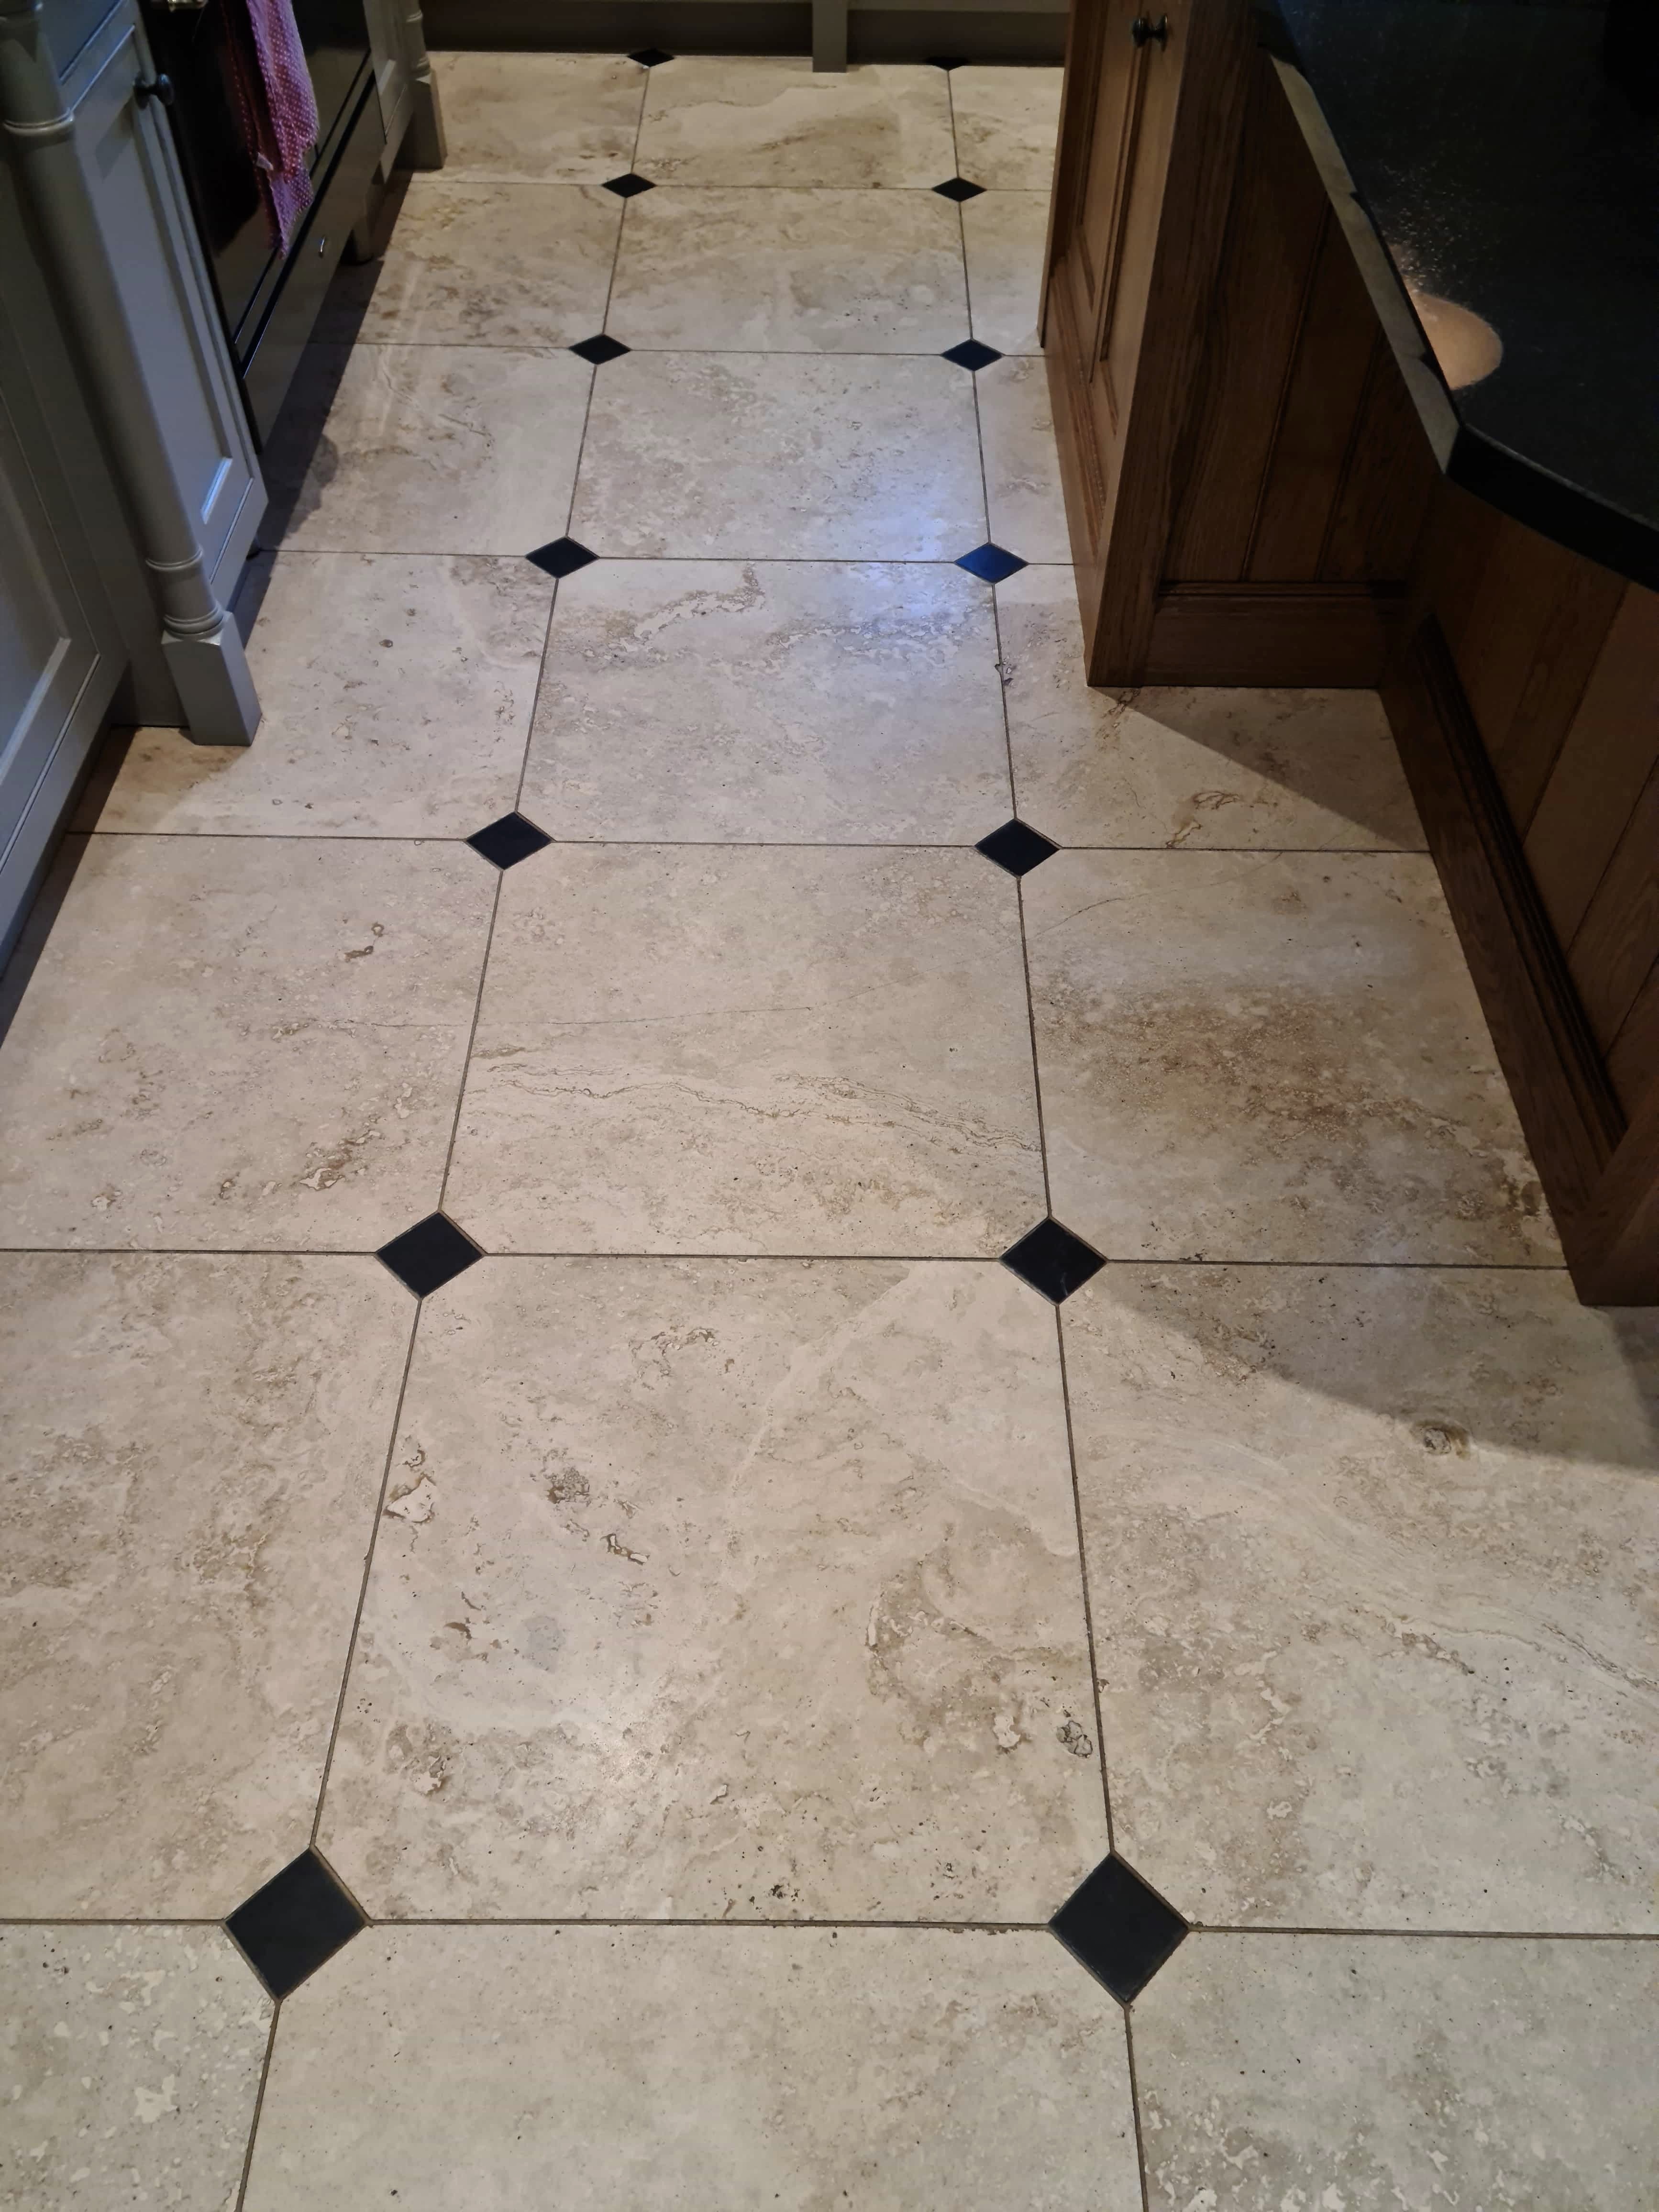
The pictures show a large Limestone floor laid through much of the ground floor of a property situated on the outskirts of York seventeen years prior.

Limestone Tiled Floor Before Cleaning York Limestone Tiled Floor Before Cleaning York

The owners had three dogs that slept in their own doggy room. The floor in this room was in the worst condition of the five rooms as it had been subject to significant wear and tear. The Limestone tiles looked dull with ingrained dirt and the grout was stained and patchy.

Limestone Tiled Floor Before Cleaning York

The original tiler had laid the floor well, but he had applied a satin topical sealer to the stone most of which had worn off over the years. A floor like this would need a little maintenance and the sealer reapplying from time to time to maintain it.

I completed a test clean for the client to show them what could be achieved which came out well. Happy with the result they accepted my quote for the restoration work, and we booked in a suitable time to complete the work.

Cleaning a Limestone Tiled Floor

The area was quite large, so I separated the job into rooms and started by protecting the skirtings and woodwork from splashing etc. I decided to do a chemical clean first to remove what was left of the old sealer but more importantly to give the grout a thorough clean which was making the floor look scruffy.

For this I opted to apply a strong dilution of Tile Doctor Pro-Clean which was left to dwell for a short while and then worked in with a mechanical rotary cleaner. It gets to work on the ingrained dirt and sealer. It should also help to get rid of the doggy smells. This process turns the cleaning solution black and is then extracted using a wet vacuum keeping the mess to a minimum. I paid particular attention to the grout which was deeply discoloured and found that some areas required going over a couple of times to get them clean. I was only just getting started on the cleaning but immediately the floor was looking so much better.

I then deep cleaned the Limestone with a set of diamond burnishing pads, working in sequence from the 400 grit through to 1500 grit. A small amount of water was used to aid the lubrication and after each pad have been over the entire area few times the solution is rinsed off with more water and extracted with the wet vacuum.

The floor came back to almost new and as the client wanted a satin finish, I ended by applying a 3000-grit pad to add a deeper polish to the Limestone. The floor was then left overnight to dry.

Limestone Tiled Floor After Cleaning Sealing York

Sealing a Limestone Tiled Floor

The last step of polishing with the 3000-grit pad already leaves the floor quite dry however I always like to check before sealing so just to be sure I took some reading with a damp meter. The readings were fine, so I started applying the first of two coats of Tile Doctor Ultra Seal to finish the floor. This is an impregnating sealer (as opposed to the previous topical sealer) that soaks into the stone protecting it from within but without affecting its appearance. This product was chosen in consultation with the client who was specific about how they wanted to floor to look.

Limestone Tiled Floor After Cleaning Sealing York Limestone Tiled Floor After Cleaning Sealing York

The floor now looked superb. Both the client and l were very pleased with the finished floor and so where the dogs! For aftercare I recommended Tile Doctor Stone Soap which is designed for cleaning polished stone floors like these, it’s a gentle stone cleaner that helps maintain the patina and ideal for this type of floor.


Professional Restoration of a Limestone Tiled Hallway in North West Yorkshire

Restoration Clean of a Limestone Tiled floor in York Read More »

Victorian Floor Before and After Cleaning Sealing York

Victorian Tiled Hallway Floor Deep Cleaned and Sealed in York

This client had just moved into a property in York and having pulled back the old carpet revealed a lovely old period Victorian tiled floor she didn’t know existed when she bought the house!

I went over at the beginning of this year to survey the floor and could see that fortunately, no glue or carpet grips had been used to secure the carpet; additionally the floor was in good physical condition considering its age with no cracks or loose tiles. The tiles were however very dusty and dirty with ingrained dirt and so had probably been covered with carpet for a very long time. The hallway was quite dark I’m afraid with little natural light so apologies for the photographs.

Victorian Tiled Hallway Before Cleaning York

With old houses like this you never know what you are going to find so whilst I was there surveying the floor, I took some moisture readings with a damp meter on the floors and walls. The readings came back low so no sign of damp which was a relief to the owner.
We agreed a price for the work, and I arranged to come back the following week.

I must admit I do like York, its steeped in history and famous for its Cathedral and Viking museum. The houses in the city have loads of character and period features like this floor are quite common.

Deep Cleaning a Victorian Tiled Hallway Floor in York

I deep cleaned the floor with a strong 1:3 dilution of Tile Doctor Pro-Clean worked in with a black scrubbing pad fitted to a rotary machine. Initially the solution was left to soak into the tile before being agitated by the machine. The soil was then rinsed off with minimal water and then extracted with a wet vacuum.

I followed this up with an Acid Wash using Tile Doctor Acid Gel to further clean up the tiles and help inhibit any potential efflorescent salt issues which are common in floors of this age due to the absence of the damp proof membrane. The floor was given a further rinse and extraction and allowed to dry out fully overnight. I needed the floor to be dry for the next day so it could be sealed.

Sealing a Victorian Tiled Hallway Floor

I came back the next day and started by taking more damp readings which showed similar readings to the day before. Given the low readings I was able to move straight onto sealing which was done using four coats of Tile Doctor Seal and Go. This product works really well on old Victorian Tiles like these and being water based it doesn’t leave a smell as it dries.

Once the final coat of sealer had dried there was a significant improvement in the appearance of the floor which was much appreciated by client who was very happy with the end result.

Victorian Tiled Hallway After Cleaning York

For aftercare I recommended the use of Tile Doctor Neutral Tile Cleaner to maintain the floor, it has a nice fresh smell and can be used regularly due to its pH neutral nature which won’t prematurely erode the sealer like stronger bleach based cleaners.


Professional Restoration of a Victorian Tiled Hallway in Yorkshire

Victorian Tiled Hallway Floor Deep Cleaned and Sealed in York Read More »
Jerusalem Stone Floor Before After Cleaning York

Jerusalem Limestone Floor Renovation in the City of York

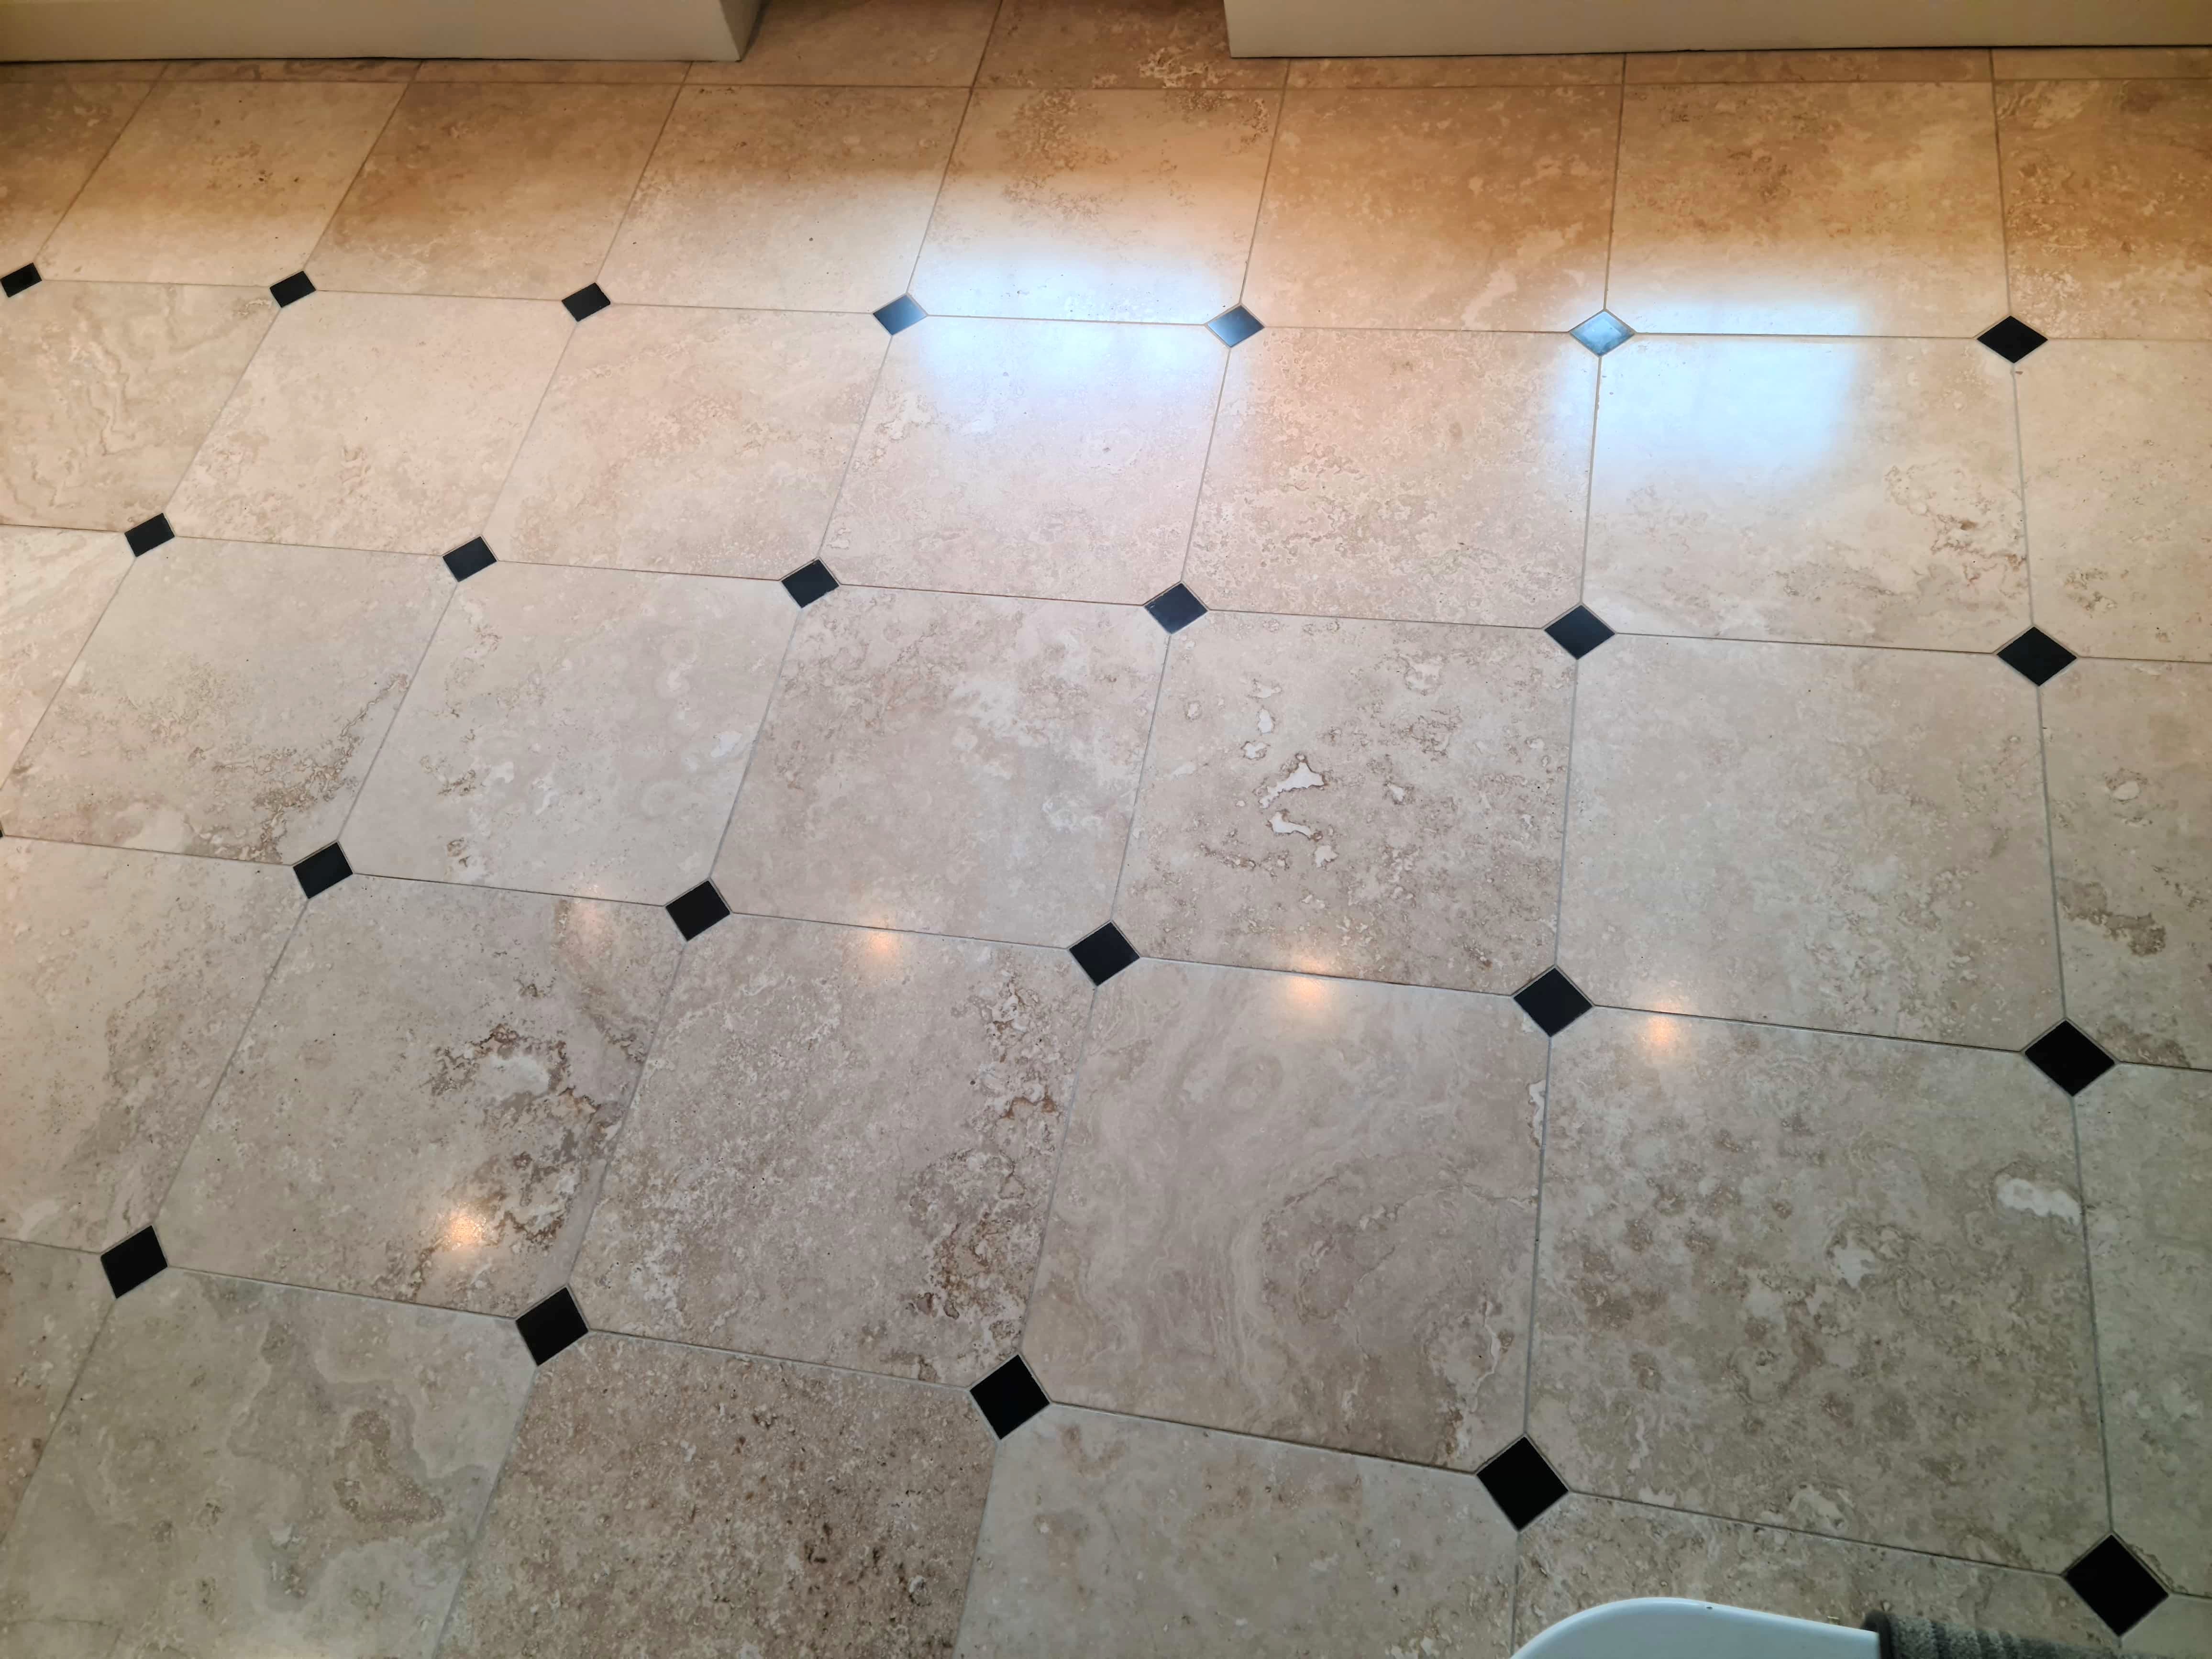
Jerusalem Stone is a pale variety of Limestone that comes from Israel and is available in different colours. It’s a high-quality material that has been used in construction for thousands of years however like all Stone used as flooring, it benefits from being sealed to prevent dirt from becoming ingrained in the stone.

Jerusalem Limestone Before Cleaning York

This ground floor of this house in the historic walled city of York had around 60 metres of Jerusalem Limestone installed throughout the kitchen area and some adjacent steps. Its appearance had degraded with use and was now looking flat, dirty and generally uninviting. Additionally, the customer didn’t like the natural pitting in the stone which proved to be a trap where dirt became ingrained making it more difficult to clean.

Jerusalem Limestone Before Cleaning York

I surveyed the floor and discussed the process required to restore the floor including restoration work to fill the pitting. I also worked out a price which was agreed and booked a date in the diary for the work to be done.

Cleaning and Filling a Jerusalem Limestone Tiled Kitchen Floor

My first task was to fill the holes using three different colours of grout. The floor was a mixture of shades, so I chose the best match based on the different colours in the stone. This work was tedious and a little slow but worked well and I was very pleased with the result. I come from a Tiling background so am quite used to working with grout in this manner.

Jerusalem Limestone Before Filling York Jerusalem Limestone After Filling York

Next the floor was deep cleaned with the 400, 800 and 1500 grit diamond burnishing pads fitted to a weighted floor buffer and lubricated with water. The pads are applied in sequence starting with the 400-grit pad first and the soil generated is rinsed off with water in-between. This process removes grease marks, old sealers, ingrained dirt and builds the polished finish of the limestone. I also used a hand-held burnishing block on the steps to get into the intricate corners.

The grout was particularly dirty and was cleaned by hand using Tile Doctor Pro-Clean scrubbed in with a narrow stiff brush and the soil rinsed off with water and extracted with a wet vacuum. This product is a multi-purpose cleaner and degreaser and it really gets to work on the hard to shift build-up of dirt, grime and grease.

The floor was left to dry off overnight, the lovely warm weather was a blessing as the floor was pretty large, thankfully we didn’t need to install any driers on this occasion.

Jerusalem Limestone During Grout Cleaning York

Sealing a Limestone Tiled Kitchen Floor

I returned the next day to finish the polishing with the final 3000-grit pad applied with a little water sprayed onto the tile. once done I tested the floor with a damp meter to make sure it was nice and dry and ready for sealing. The filled areas were looking particularly good, eliminating the issue the customer was having with dirt getting stuck in them.

To seal the Jerusalem Limestone and protect it from ingrained dirt I used two coats of Tile Doctor Ultra-Seal which is a natural look sealer that doesn’t alter the appearance of the stone. As well as providing the natural no-sheen look that the customer wanted it will provide stain protection and is recommended for food preparation areas such as kitchens. It also was excellent for sealing the grout and the areas I had filled.

Jerusalem Limestone After Cleaning York

The customer was very happy with the result and couldn’t believe how fast we had worked to restore the floor. She was relieved it would now be much easier to clean and maintain.

Jerusalem Limestone After Cleaning York


Professional Restoration of a Limestone Tiled Kitchen in North West Yorkshire

Jerusalem Limestone Floor Renovation in the City of York Read More »

Slate Floor Tiles Before Cleaning After Sealing York

Worn Sealer Replaced on a Slate Tiled Floor in York

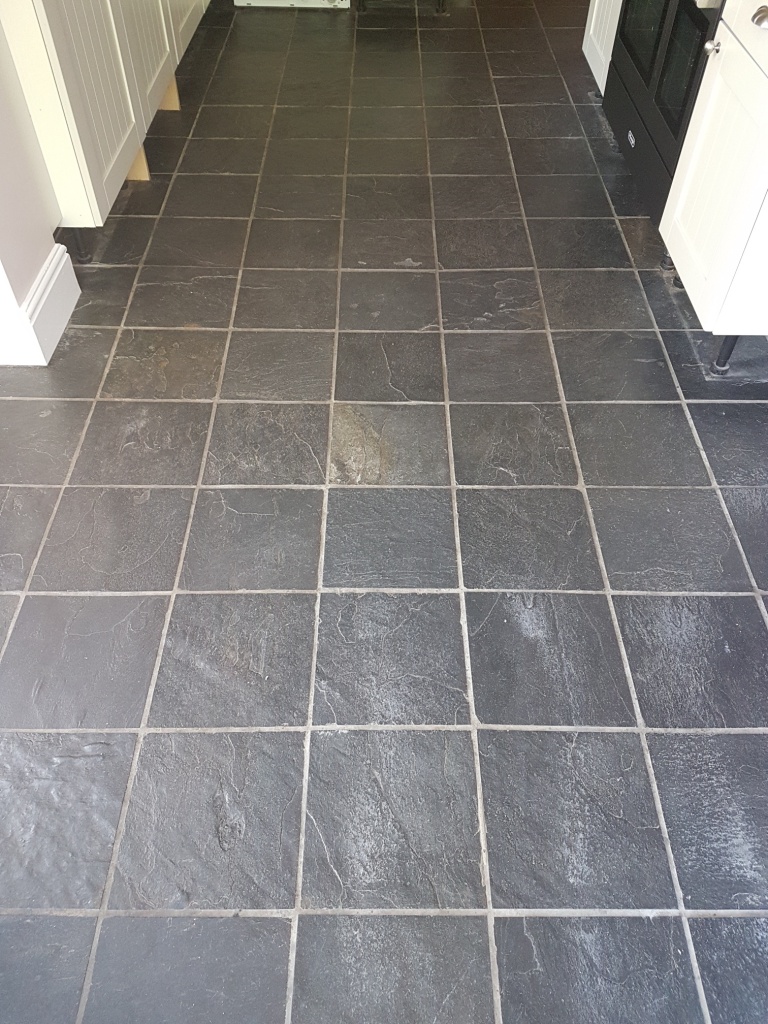
The photographs below are of a Slate Tiled floor in a house in York, a walled city in North West Yorkshire which is very famous for its Viking heritage and its many landmarks, including the stunning York Minster. I visited the client to discuss what could be done to improve the look of the slate tiles which were installed in the kitchen and run into the downstairs cloakroom WC.

Slate Tiled Kitchen Floor York Before Cleaning

I could see that the floor was suffering from the usual problem of dirt becoming ingrained into the pores of the stone making it difficult to clean effectively. This happens as the protection provided by the sealer wears off with use and the stone becomes dull and lifeless with the trapped dirt; additionally, the floor had some bad scratches from chairs being dragged across the floor. Being a Kitchen, the area was in used to high family traffic, so it was in need of some care and attention. The client was happy to go ahead with my quote.

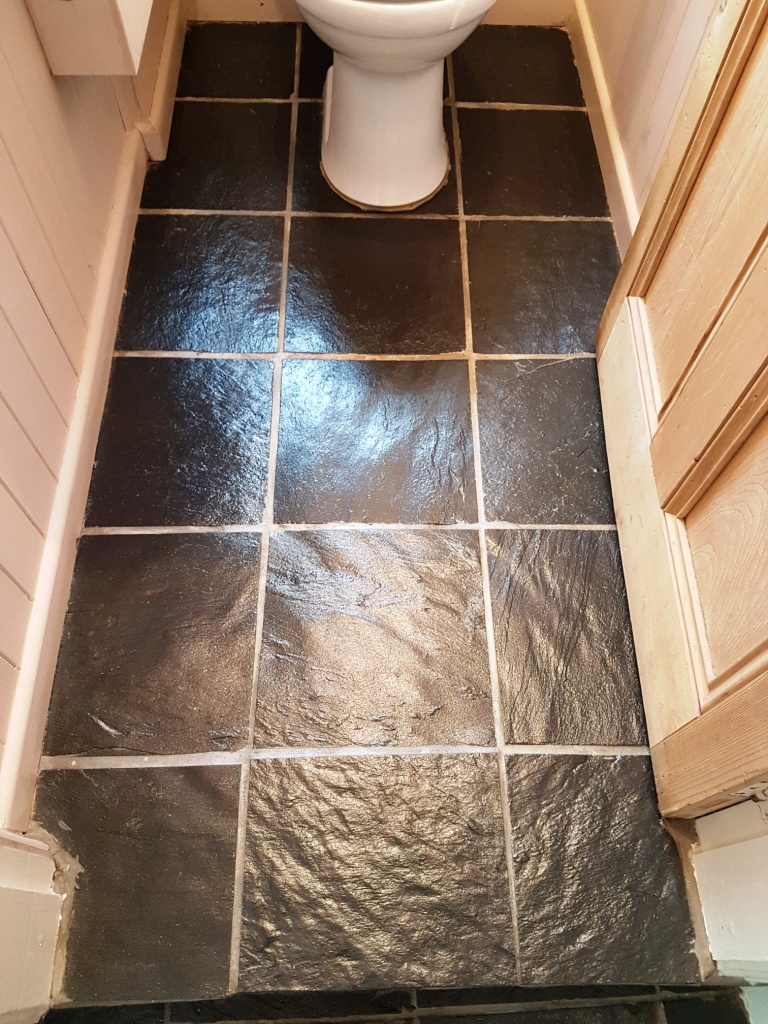
Slate Tiled WC Floor York Before Cleaning

Cleaning a Slate Tiled Floor

I arrived the following week and started by taping up and protecting the surrounding areas and thresholds. Then working in sections, I applied a strong dilution of Tile Doctor Pro-Clean (1 part Pro-Clean to 3 parts water) to the floor and left it to soak in and get to work breaking down what was left of the old sealer and dirt. This is a multi-purpose cleaner which works hard on stubborn areas. It was then scrubbed in using a black scrubbing pad fitted to a rotary floor buffer. I then used more Tile Doctor Pro-Clean on the grout which was stained in places and this was scrubbed in by hand using a thin stiff grout brush.

The floor was then rinsed with water, and the now soiled cleaning solution removed with a wet vacuum before moving onto the next section. We try and keep the mess to the absolute minimum. One area included a downstairs WC which was too tight to get the floor buffer in so there was no option but to scrub the tiles and grout by hand.

After cleaning all the slate and grout I inspected the floor and was pleased to see that the scratches were a lot less obvious after cleaning, so I suspect it was the old sealer that had been mostly affected. Had the scratches been deeper we would be looking at resurfacing the stone with milling pads which is a messy and more expensive process. The client was very pleased to hear that wouldn’t be required.

After a final rinse the floor was looking much better already and was left to dry off overnight aided by the hot summer weather.

Sealing a Slate Tiled Kitchen Floor

I returned the next day and checked the floor was fully dried out by using my moisture meter. All the readings were fine so the lovely weather had done its job which was much appreciated by myself as this greatly helps the floor cleaning process.

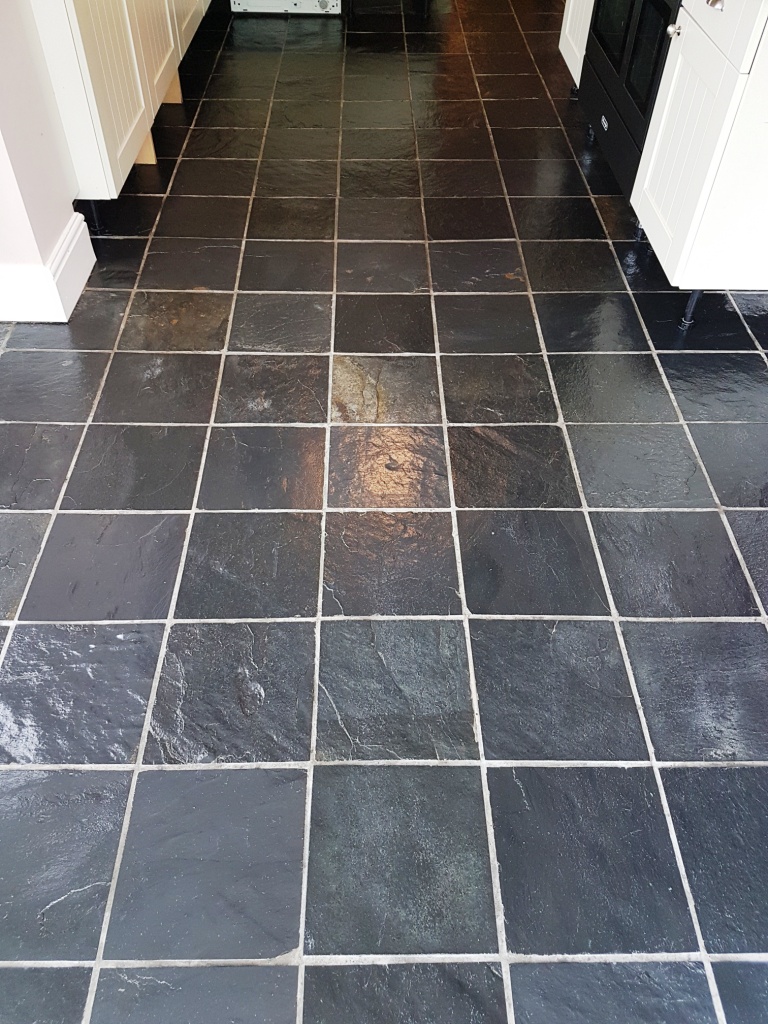
I applied four coats of Tile Doctor Seal and Go which is a water-based sealer (so no smell) that leaves a lovely deep lustre to the floor. The scratches had all but disappeared and I was able to get on with the job quite quickly due to the bonus weather that helped he sealer dried a lot quicker than usual between each coat.

Slate Tiled WC Floor York After Cleaning

The customer was very pleased with the finished floor, and I think you can see from the pictures how much better it looks. It will be much easier for them to clean and maintain in the future.

Slate Tiled Kitchen Floor York After Cleaning


Professional Restoration of a Slate Tiled Kitchen and Cloakroom in North West Yorkshire

Worn Sealer Replaced on a Slate Tiled Floor in York Read More »
Victorian Tiled Hallway Floor Before and After Cleaning York

Dirty Victorian Tiled Hallway Deep Cleaned and Sealed in York

As promised below are the photographs from the second floor I cleaned recently at a house in historic city of York. If you recall the first floor was Mexican Terracotta which proved pretty tough to clean as the rotary floor scrubber I use struggled to cope with the bull nose edges. You can find the article I created for that floor via the link below:

Mexican Terracotta Tiles Deep Cleaned in York.

The second floor was a Victorian tiled hallway which like its neighbour was dull, lifeless and now overdue a deep clean to remove ingrained dirt, part worn sealer and then reseal.

Victorian Tiled Hallway Floor Before Cleaning York

Cleaning Victorian Tiles Tiles

As with the Terracotta tiles I cleaned the floor using a strong 1:3 dilution of Tile Doctor Pro-Clean with water. This is a strong dilution ratio which will not only clean the tile but also strip off what was left of the original sealer. You need to do this as the sealer will wear off first in the most commonly used part of the floor first which in this case is down the middle of the hallway. I left the solution it to soak into the tile for about ten minutes before scrubbing it in with a black scrubbing pad fitted to a rotary floor machine. I the scrubbed along the grout lines with more pro-clean and a stiff narrow brush by hand to ensure the grout was also clean.

The floor was rinsed with water and the soiled cleaning solution was extracted using a wet vacuum. I could then see those area’s that needed more work and re-treated them with more Pro-Clean until I was satisfied all the previous sealer was gone and the tile and grout was as clean as it could be.

The tiles were given a final rinse with water and the wet vacuum used again to extract as much moisture off the floor as possible. The next step would be to seal, however the Terracotta floor tiles needed a longer drying time so I left both floors to dry out for two days before returning.

Sealing Victorian Tiles Tiles

Upon my return to the property I ran some quick damp tests, which revealed the tiles were ready to be sealed. I then applied four coats of Tile Doctor Seal and Go which provided a beautiful satin finish that really improved the look of Victorian Tile.

Victorian Tiled Hallway Floor After Cleaning York
The hallway tiles now looked clean and much brigher, needless to say my customer was very happy with the transformation.

Victorian Tiled Hallway Deep Cleaned and Resealed in Yorkshire

Dirty Victorian Tiled Hallway Deep Cleaned and Sealed in York Read More »
Mexican Terracotta Floor Before and After Cleaning York

Dirty Mexican Terracotta Tile and Grout Deep Cleaned and Sealed in York

A few months back I posted a story about cleaning Catalan Terracotta tiles where I mentioned that Terracotta tiles are made all over the world. To prove the point I thought you might be interested to read about this Mexican Terracotta Tiled floor I cleaned recently at a house in York.

The customer actually had two floors they wanted me to clean, the other was a Victorian Tiled floor which is cleaned using a similar process but I’ll post about that separately. Both floors looked a bit tired but especially the Mexican Terracotta which looked dull and lifeless additionally the Grout had gone black when it should have been a Sandstone colour.

Mexican Terracotta Floor Before Cleaning York Mexican Terracotta Floor Before Cleaning York

Mexican Terracotta tiles are invariably hand made and made to the same standard as other makes such as Spanish, as a result the porosity levels between each tile can vary greatly which makes them harder to maintain.

Cleaning Mexican Terracotta Tiles

I cleaned the floor using a strong 1:3 dilution of Tile Doctor Pro-Clean with water which is an effective alkaline Tile and Grout cleaner that will clean and strip old sealers from tiles when used in a strong dilution such as on this occasion. I left it to soak into the tile for about ten minutes before scrubbing it in with a black scrubbing pad fitted to a rotary floor machine. This process made a different but the machine couldn’t cope with the “Bull Nose” edges to I had so spend a lot of time cleaning the old fashioned way using a scrubbing brush and a lot of elbow grease. I had the same issue with the grout which being slightly recessed wasn’t cleaned sufficiently by the machine; however I have narrow scrubbing brush that works well for this purpose.

Mexican Terracotta Floor During Cleaning York
The floor was rinsed with water and the soiled cleaning solution was extracted using a wet vacuum. I could then see those area’s that needed more work and spot cleaned them with more Pro-Clean until I was satisfied all the previous sealer was gone and the tile and grout was as clean as it could be.

The tiles were given a final rinse with water and the wet vacuum used again to extract as much moisture off the floor as possible. The next step would be to seal, however the tiles would need to be dry for that to happen and given Terracotta is notoriously porous and absorbs water quickly l decided after I’d leave the floor to dry out for two days.

Sealing Mexican Terracotta Tiles

Upon my return to the property I ran some quick damp tests, which revealed the tiles were ready to be sealed. I then applied four coats of Tile Doctor Seal and Go which provides a satin finish and really improves the look of Terracotta.

Mexican Terracotta Floor After Cleaning York Mexican Terracotta Floor After Cleaning York

My customer was very happy with the transformation that had occurred to their floor and I think you will agree from the photographs the floor looks much healthier.

Mexican Terracotta Tile and Grout Renovated in Yorkshire

Dirty Mexican Terracotta Tile and Grout Deep Cleaned and Sealed in York Read More »
Linoleum Tiled Floor Before and After Restoration in York

Victorian Design Linoleum Tiles Restored in York

Here’s an interesting job I recently completed at a house near the centre of York, the biggest town in North Yorkshire and famous for its Viking history. My client had initially emailed me some pictures of her tiles which, upon first inspection, looked like Black and Red Victorian tiles. This was also the opinion of my client and her friend, who is a builder.

Linoleum Tiled Floor Before Restoration in York
The floor had previously been covered by carpet, which was fixed down by adhesive. As such, the newly unveiled floor was in a bit of a state, with adhesive markings ruining the appearance of the tiles. I agreed a date with my client to give the tiles a closer inspection.

Restoring Linoleum Vinyl flooring

Upon my arrival at the house, I discovered that the floor was in fact made up of linoleum, rather than Victorian tiles. This was a surprise to me as Tile Doctor don’t usually get asked to work on Vinyl flooring. Nonetheless, I agreed to restore the floor to the best of my abilities.

To clean the floor, I started with a blunt chisel (so not to puncture or tear the Lino) and proceeded to scrape off all the glue and plaster from the floor. Had the tiles been unpolished natural stone I would’ve used a product such as Tile Doctor Remove & Go to break down the adhesive markings.

The next step was to restore the appearance of the floor using a combination of Tile Doctor Pro-Clean mixed with Grout Clean-up. The latter product contains phosphoric acid to break down any remaining cement, while the former is a versatile, high alkaline cleaner.

Linoleum Tiled Floor During Restoration in York
Finally, the floor was given a thorough rinse with clean water to remove any trace of chemical and then sealed with a Linoleum sealer.

Despite not coming across this type of floor often, I am very pleased with the results I was able to achieve. Needless to say, my client was also very happy with what is essentially a fantastic new feature for her house.

Linoleum Tiled Floor After Restoration in York
 

Restoring Linoleum Vinyl Flooring in Yorkshire

Victorian Design Linoleum Tiles Restored in York Read More »

=================================

North West Yorkshire Tile Doctor

================================= Read More »
Scroll to Top